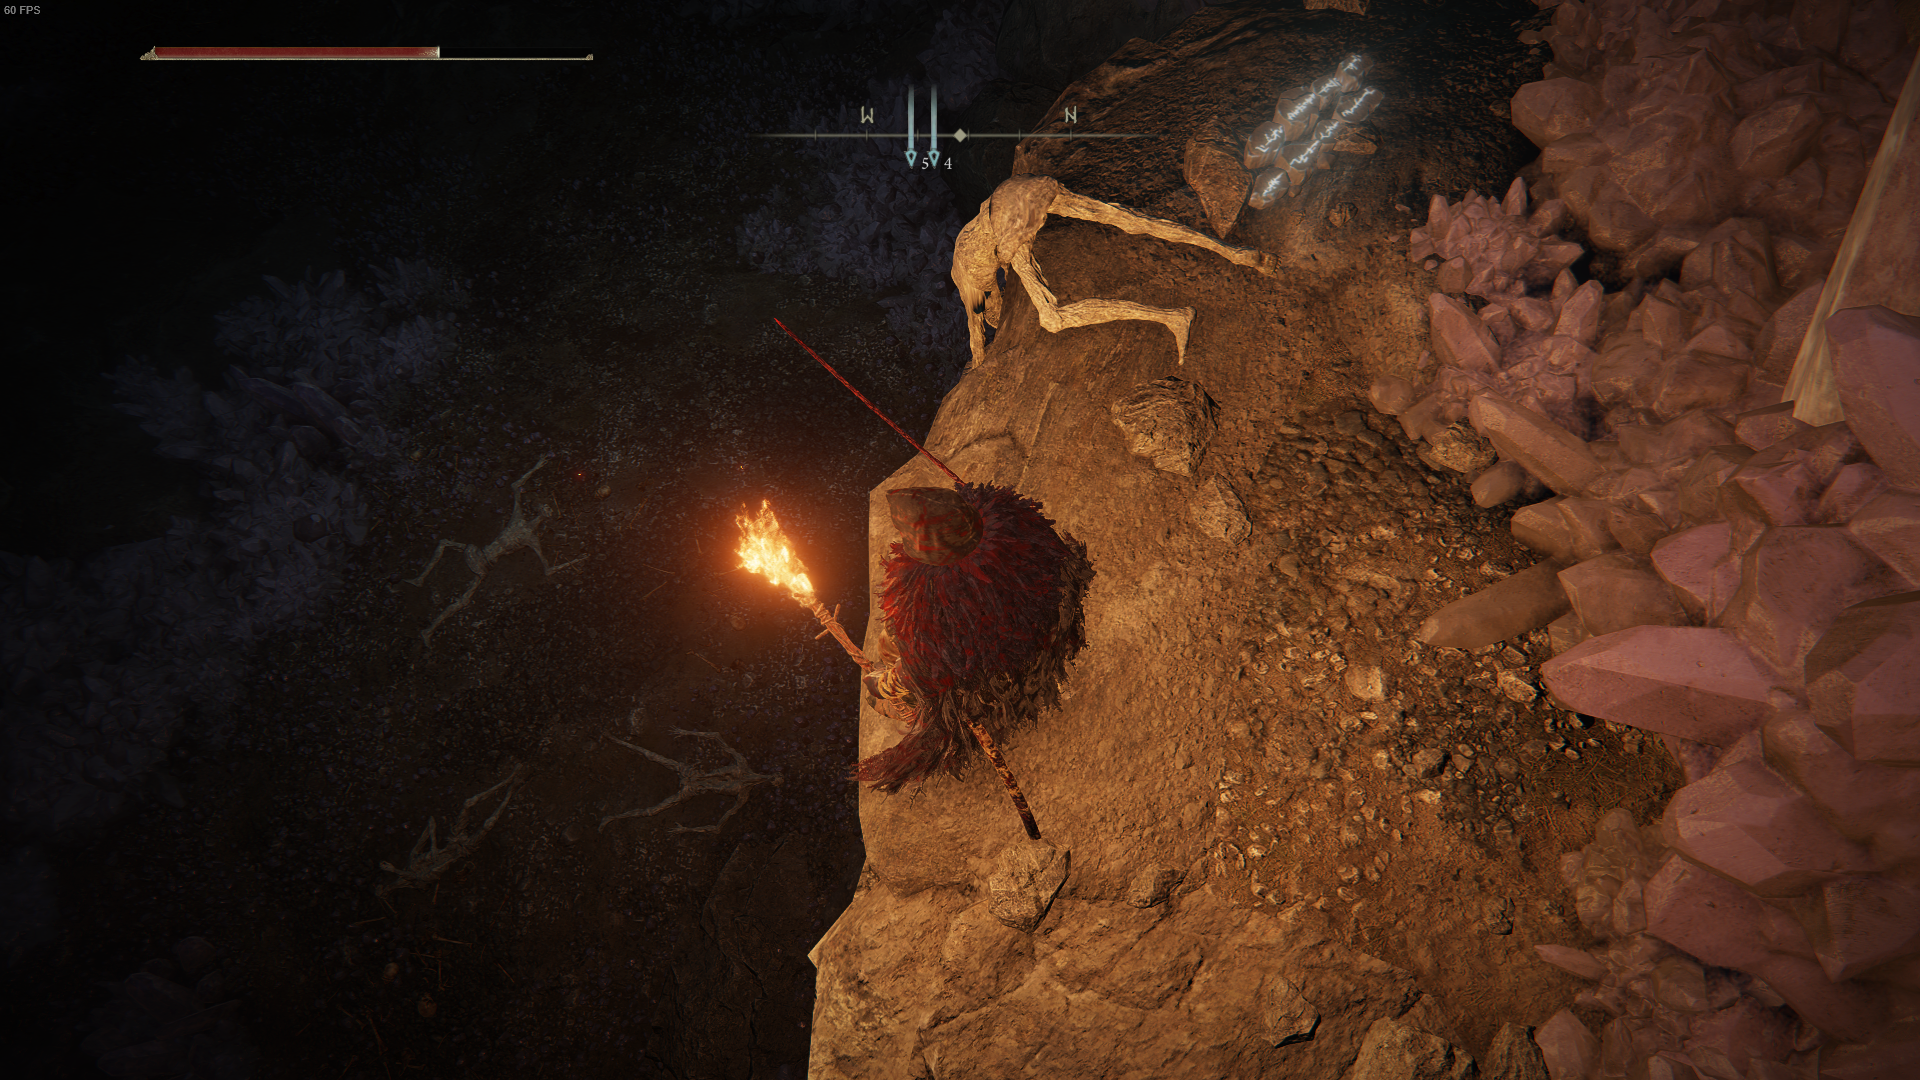
Not only does Lakeside Crystal Cave boast a tonne of crafting materials, but it hides away Smithing Stones and some pretty good talismans too. If you’re wielding a spear or in dire need of more HP, the rewards from this cave will prove to be a treat. That being said, going head to head with a Bloodhound Knight is not a pleasurable experience at all. Without further ado, here’s exactly how to make your way through Lakeside Crystal Cave without missing out on any items, and how to beat the Bloodhound Knight dungeon boss.
Lakeside Crystal Cave Items
Arteria Leaf Cave Moss Crystal Cave Moss Budding Cave Moss Soft Cotton Silver Fireflies Hefty Beast Bone Lump of Flesh Throwing Daggers Smithing Stones Spear Talisman Cerulean Amber Medallion
How to make your way through Lakeside Crystal Cave
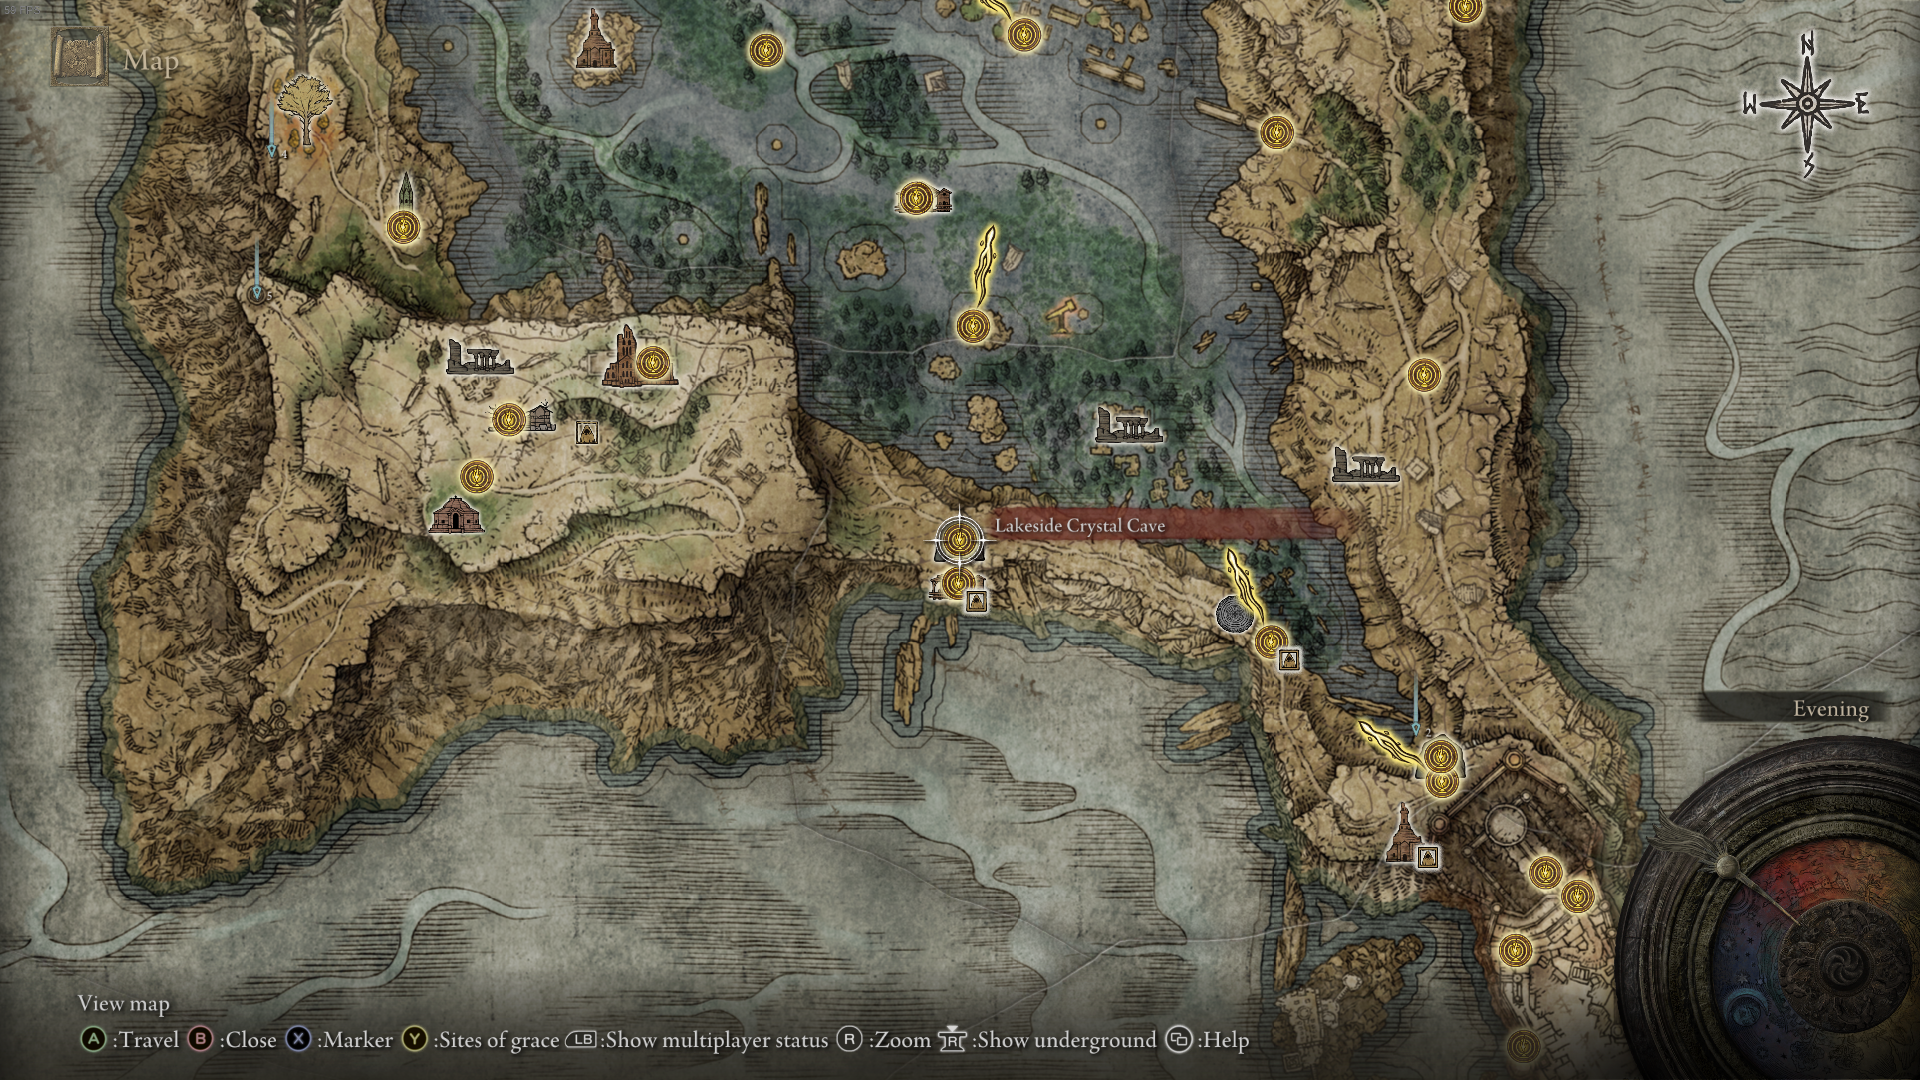
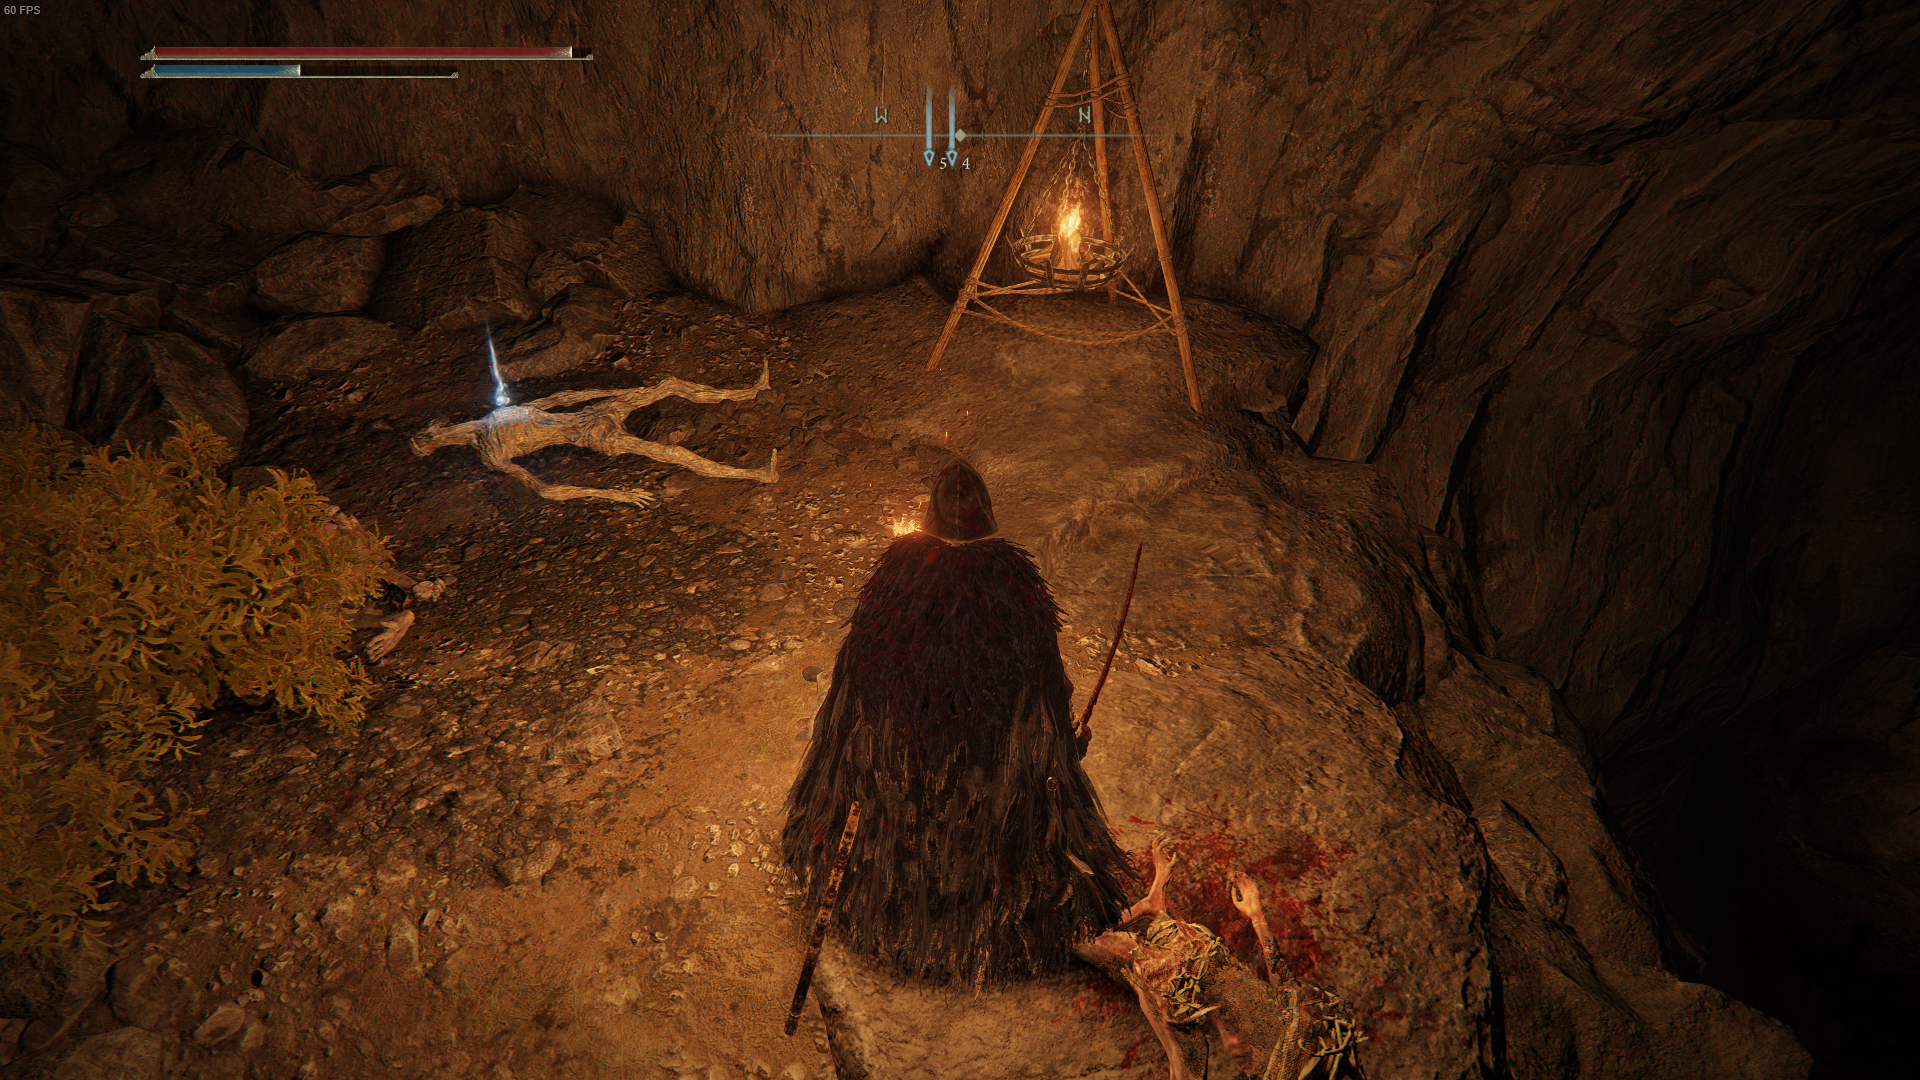
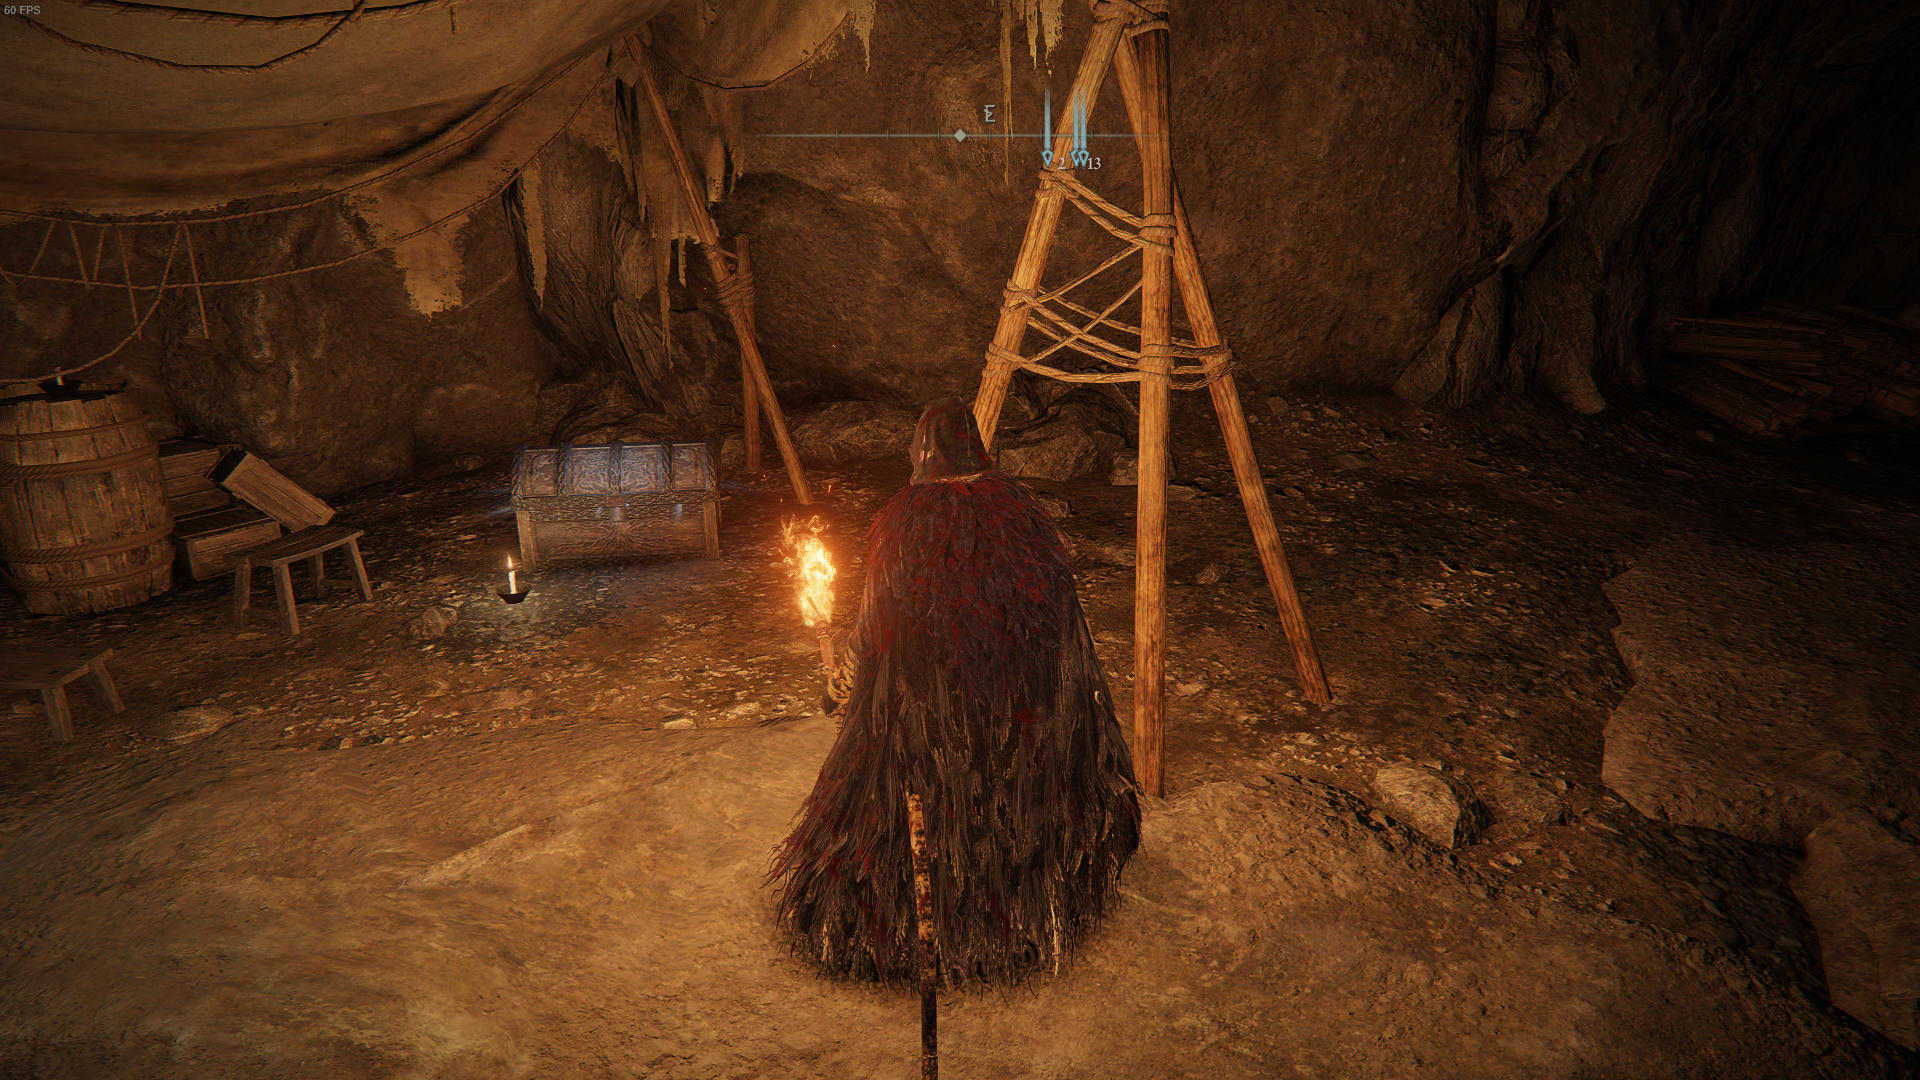
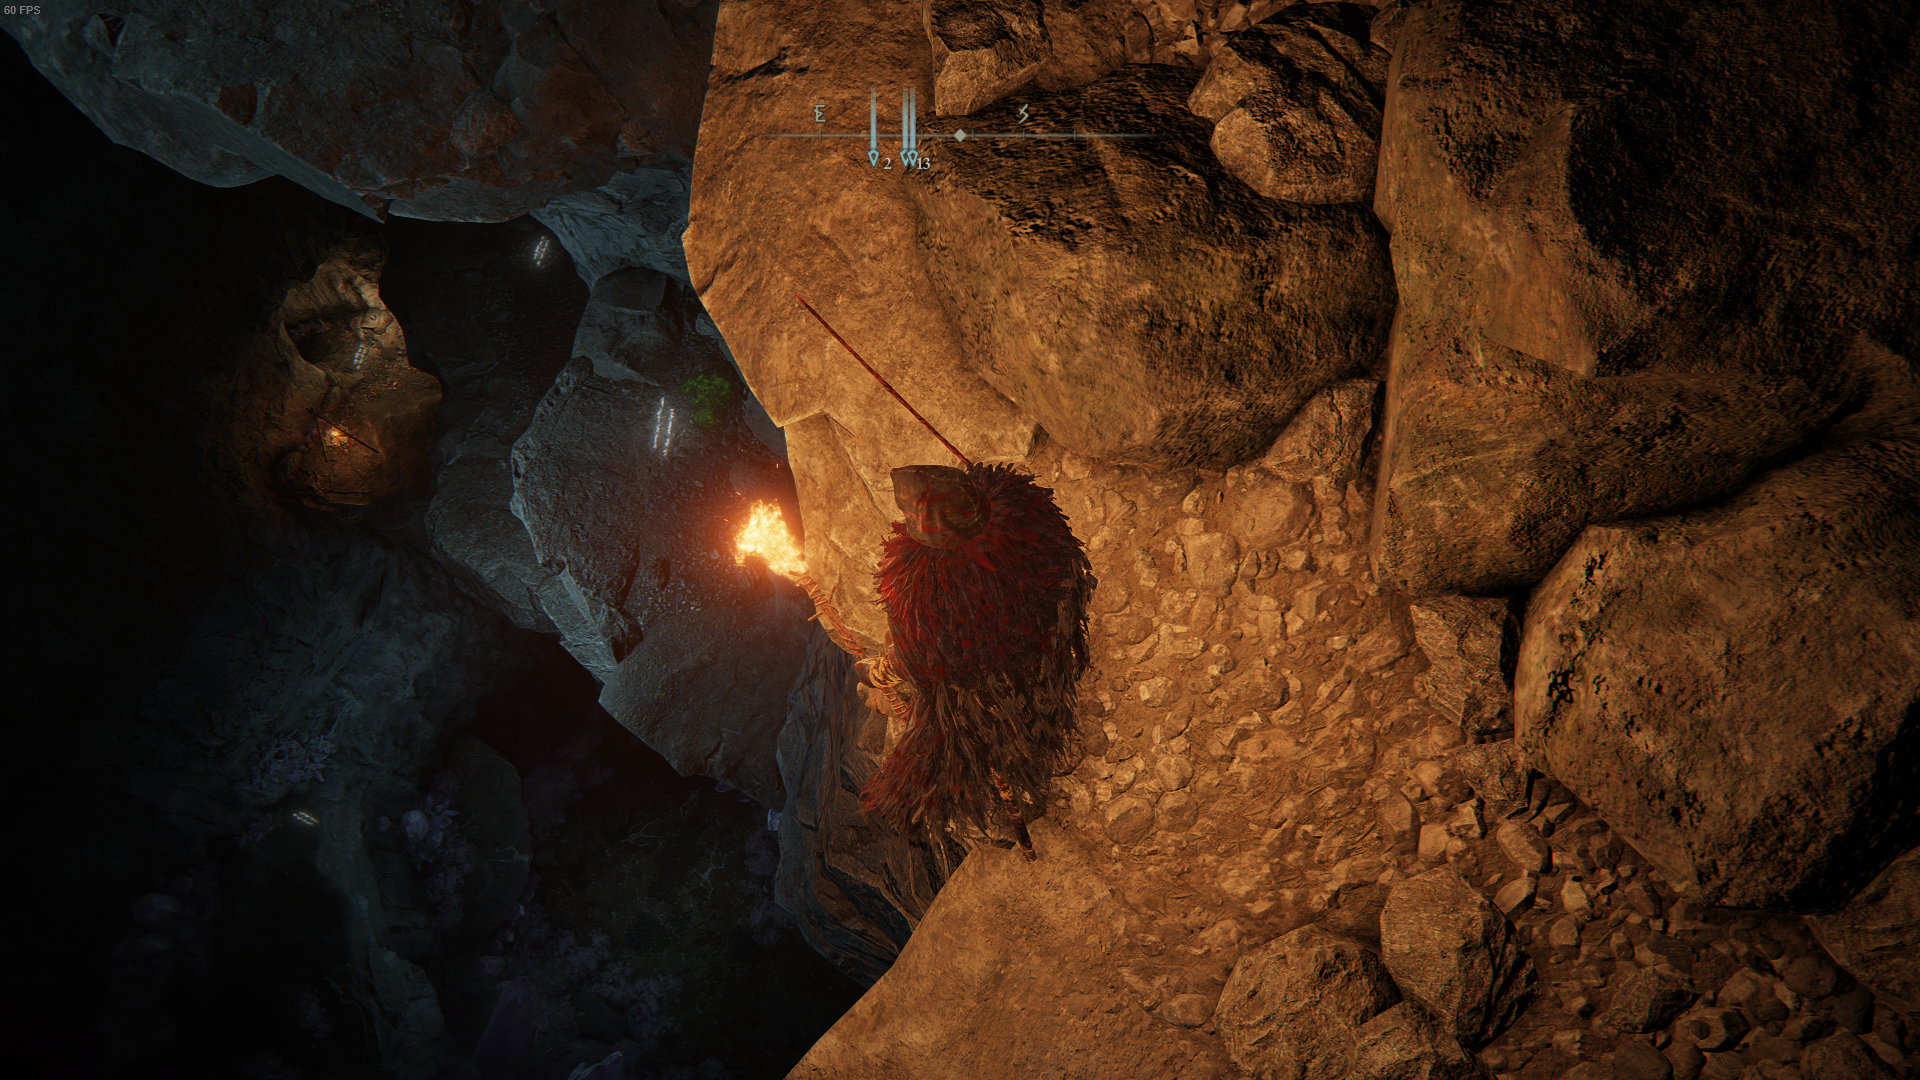
Lakeside Crystal Cave is situated in Liurnia of the Lakes. You can get to the cave by going to the Slumbering Wolf’s Shack Site of Grace and travelling directly north. Head down into the cave, taking a lantern or torch with you to help with how dark it is. Open the chest beside the Grace to retrieve an Arteria Leaf. Go left around the cavern below, and clear out the Demi-Humans here that’ll leap at you throughout the cave. Scale up the rocks ahead to find a corpse by another campfire that you can loot of x3 Hefty Beast Bone. Go back to where you dealt with the Demi-Humans and continue to the left and along the tunnel. At the end of the tunnel is another large room with more enemies to take on. At the back of the room, you’ll find another chest that contains the Spear Talisman, and you can also grab plenty of Cave Moss and multiple Silver Fireflies in here too. Leave the room again, and straight ahead (where the large cavern is), you’ll notice that you can platform down. Carefully descend until you reach a platform with a candle and another tunnel, and make sure to grab the various types of Cave Moss along the way. Through the tunnel is a small room with a corpse that you can loot x5 Throwing Daggers from, a few Crystal Snails that’ll fire projectiles at you, and yet another tunnel to go down. In the subsequent room, a corpse holding a Golden Rune can be found. You’ll then come to the cavern again, and can platform down further. The first platform you hop down to will have a corpse with 2x Soft Cotton for you to collect. At the very bottom, you’ll find three corpses. Two of them will have Smithing Stones, and the third will have a Lump of Flesh. Loot these, and head straight. Sooner or later, and after passing some more Crystal Snails, you’ll arrive at the boss arena with the Bloodhound Knight. Make sure you’re ready!
How to beat the Bloodhound Knight of Lakeside Crystal Cave
Provided that you’ve mastered the art of trying to keep patient while playing Elden Ring, this fight won’t take too much of a toll on you. If you’re still working on it, be sure to take a couple deep breaths before jumping into this fight, and try not to get too rash with your attacks. The Bloodhound Knight of Lakeside Crystal Cave is by no means an easy feat, and this is one of those fights where you’ll possibly want to study their attacks for one or two attempts before really going in on the knight. The move that the Bloodhound Knight usually kicks things off with uses his sword and a lot of slashing. You can see when the knight is winding up for this move, as he’ll charge at you before performing multiple side slashes, and then a slash straight forward. If you’re planning on playing at close range, you’ll be able to dodge through the initial slashes. However, his final frontward slash will require you to back off. So, keep a distance while the knight performs this move or remember: roll forwards, and then roll backwards. As for the other attacks that the Bloodhound Knight might employ, you’ll want to look out for his uppercut with his sword, and his teleporting attack. The first is a slight variation on one of the standard moves that the knight uses, so it can catch you off guard at first. Whenever it appears the knight is charging at you with their sword being dragged along the ground beside them, they’re probably planning on lifting the sword upwards and uppercutting you with it. In this instance, you can roll through the attack and reposition before he deals his next attack. The latter, his teleportation attack, will be used to close the distance between you both. So, if you were planning on attacking at range, this attack is probably going to put a spanner in the works (although his agility and unpredictability probably already did that). When the knight performs this move, they won’t be visible as they do so. You’ll need to block the attack if you have the means, or dodge away as quickly as possible before they reposition. Now, if you are running an Intelligence build and using all things magic, be sure to check your spells before jumping into this fight. Choose any spells that are fast and can be used at varying ranges. For this type of fight, I find that Carian sorceries possess some of the best spells that always come out on top against melee enemies. For example, Carian Piercer, Magic Glintblade, or Glintblade Phalanx are all viable options for taking on the Bloodhound Knight. Finally, if all else fails, summons are allowed for this fight. Never neglect to call on your favourite Spirit Ashes if you’re in trouble, as that’s what they’re there for. A summon will be able to take plenty of aggro for you and will regularly distract the Bloodhound Knight from attacking you, so you can go about filling up on flasks or perpetrating your own attacks! With the Bloodhound Knight of Lakeside Crystal Cave finally felled, they’ll drop the Cerulean Amber Medallion as your reward. This talisman will boost the amount of FP you have, making it pretty useful if you’re a magic user or a fan of spamming your weapons skills. If duelling with knights is your thing, you should check out the Abandoned Cave and Stillwater Cave. Alternatively, if you’re looking to do something different in The Lands Between, our Elden Ring walkthrough is full of ideas and tips.
