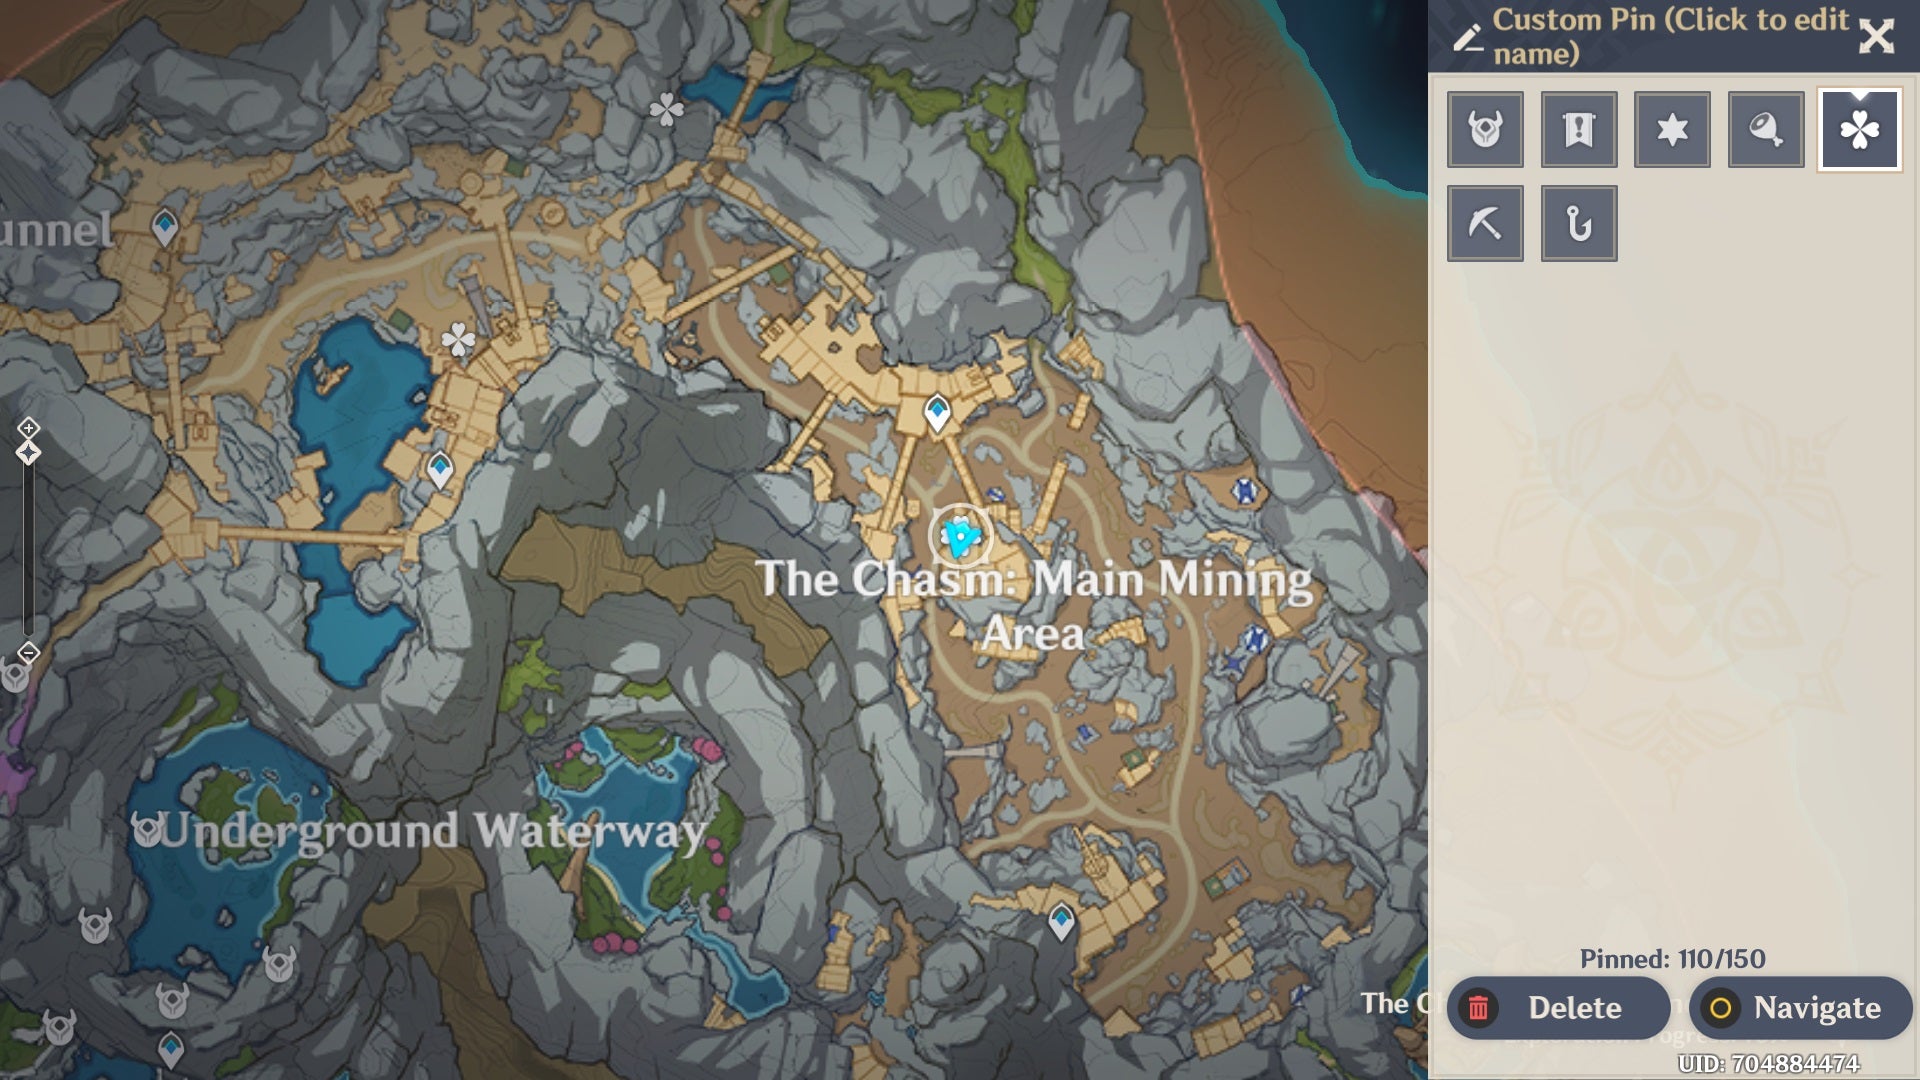
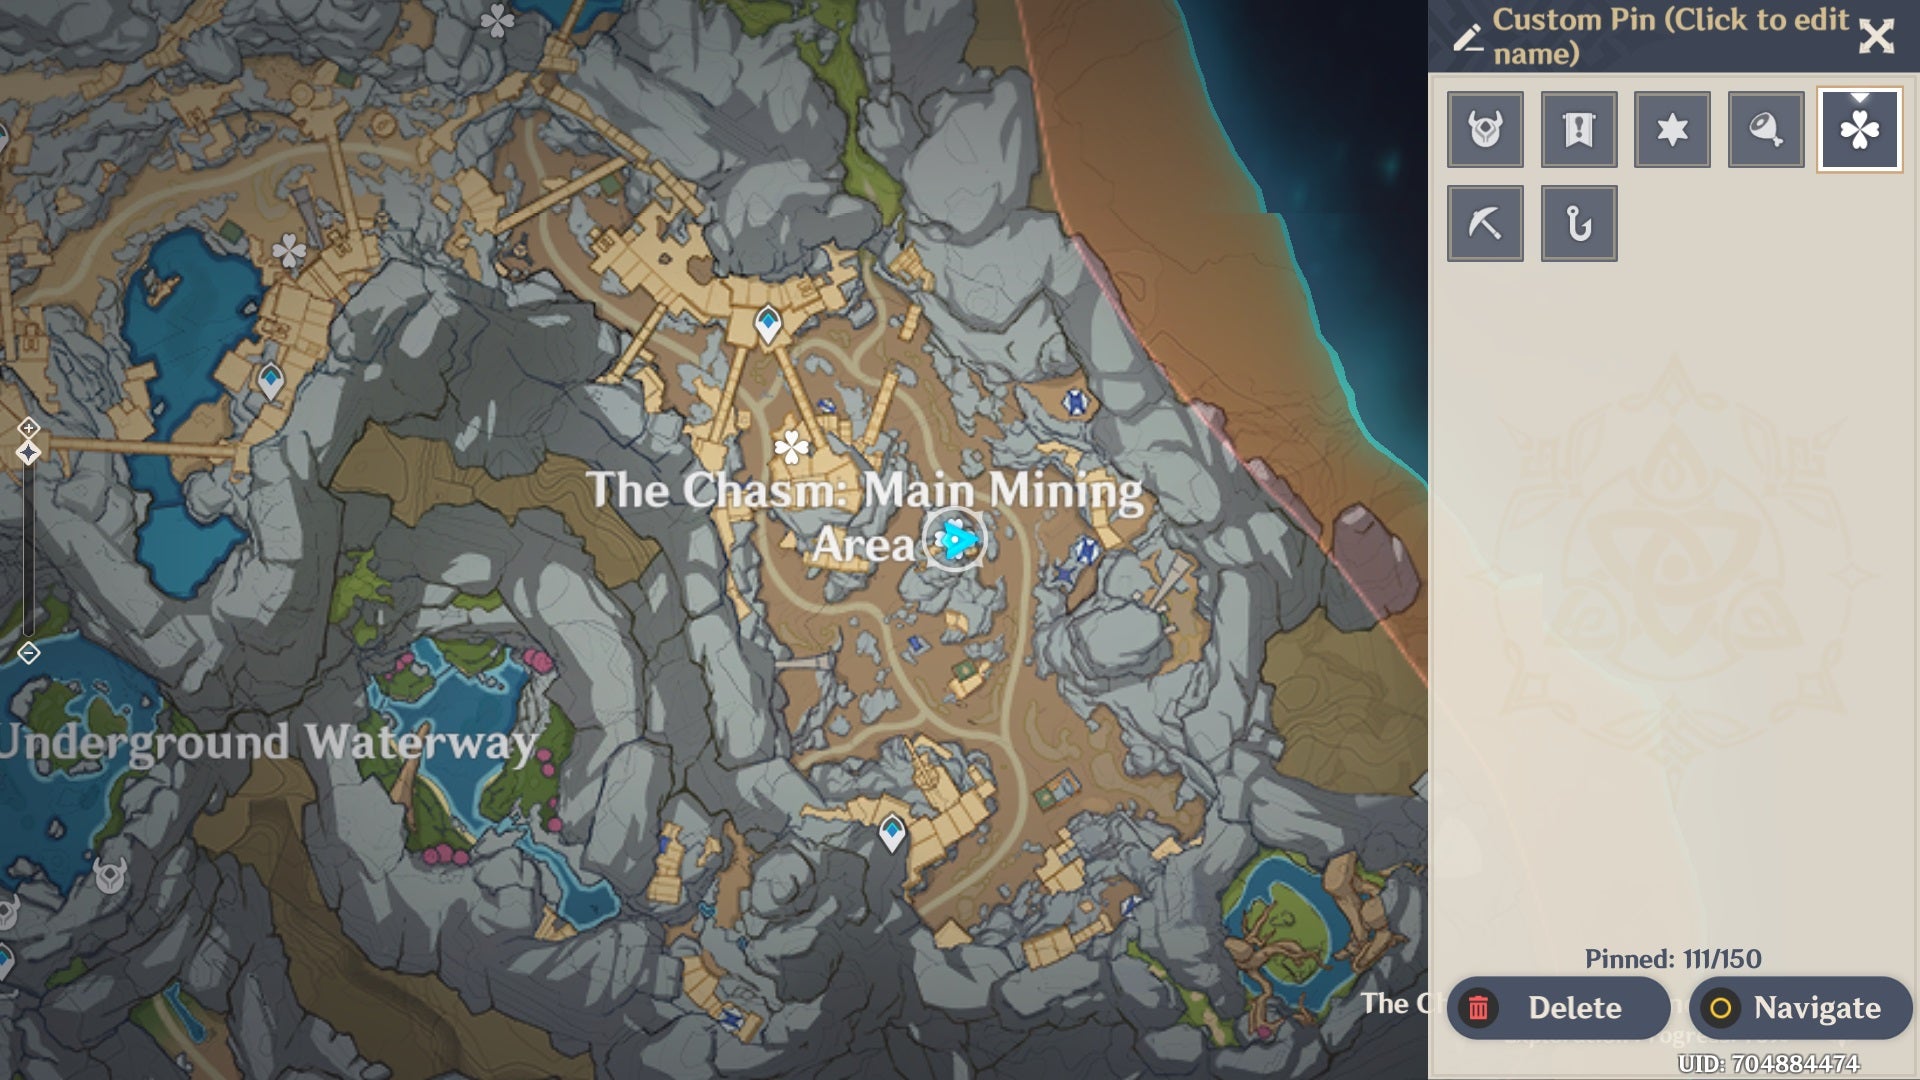
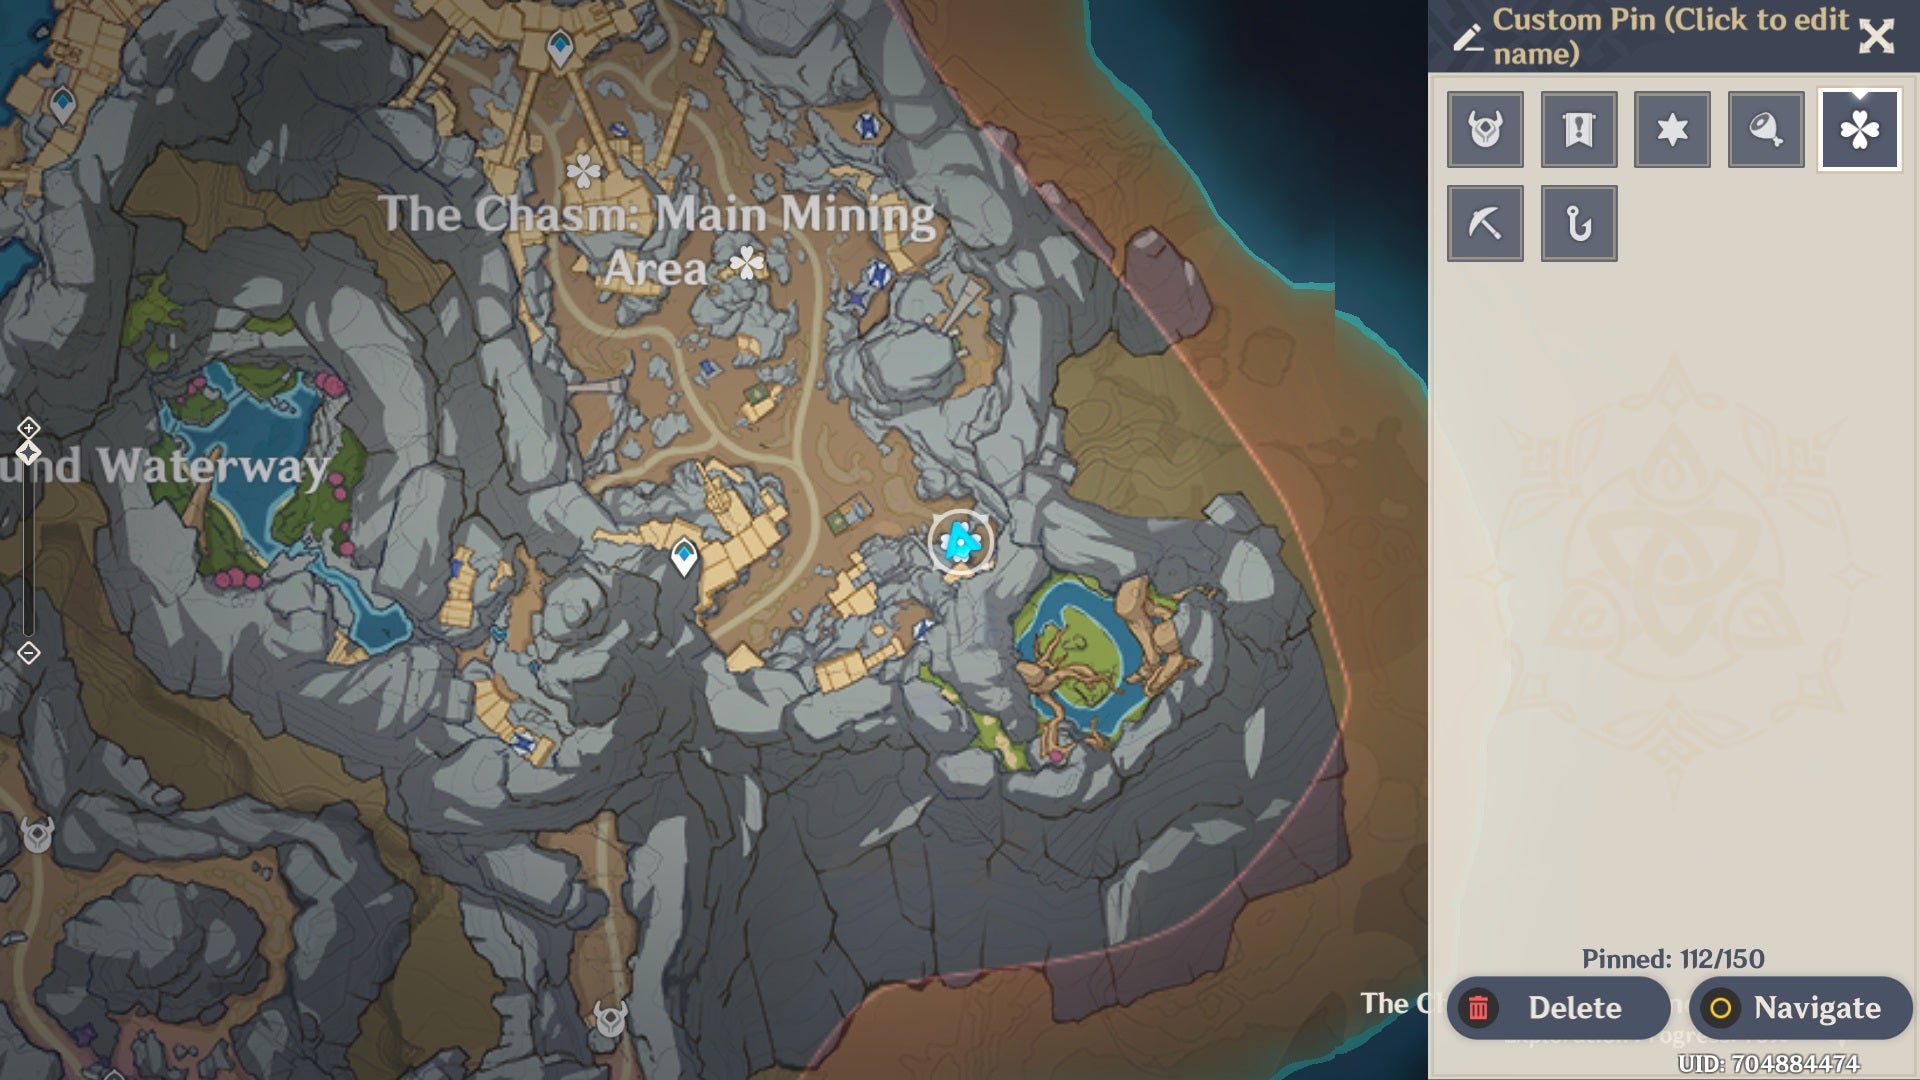
As such, we thought we’d write up thai quick step-by-step walkthrough on how to complete the Heavenly Stone’s Debris quest so you can move past it quickly, and continue your adventure through The Chasm.
Finding the two keys Signalling the cannon Shooting the cannon
Finding the two keys
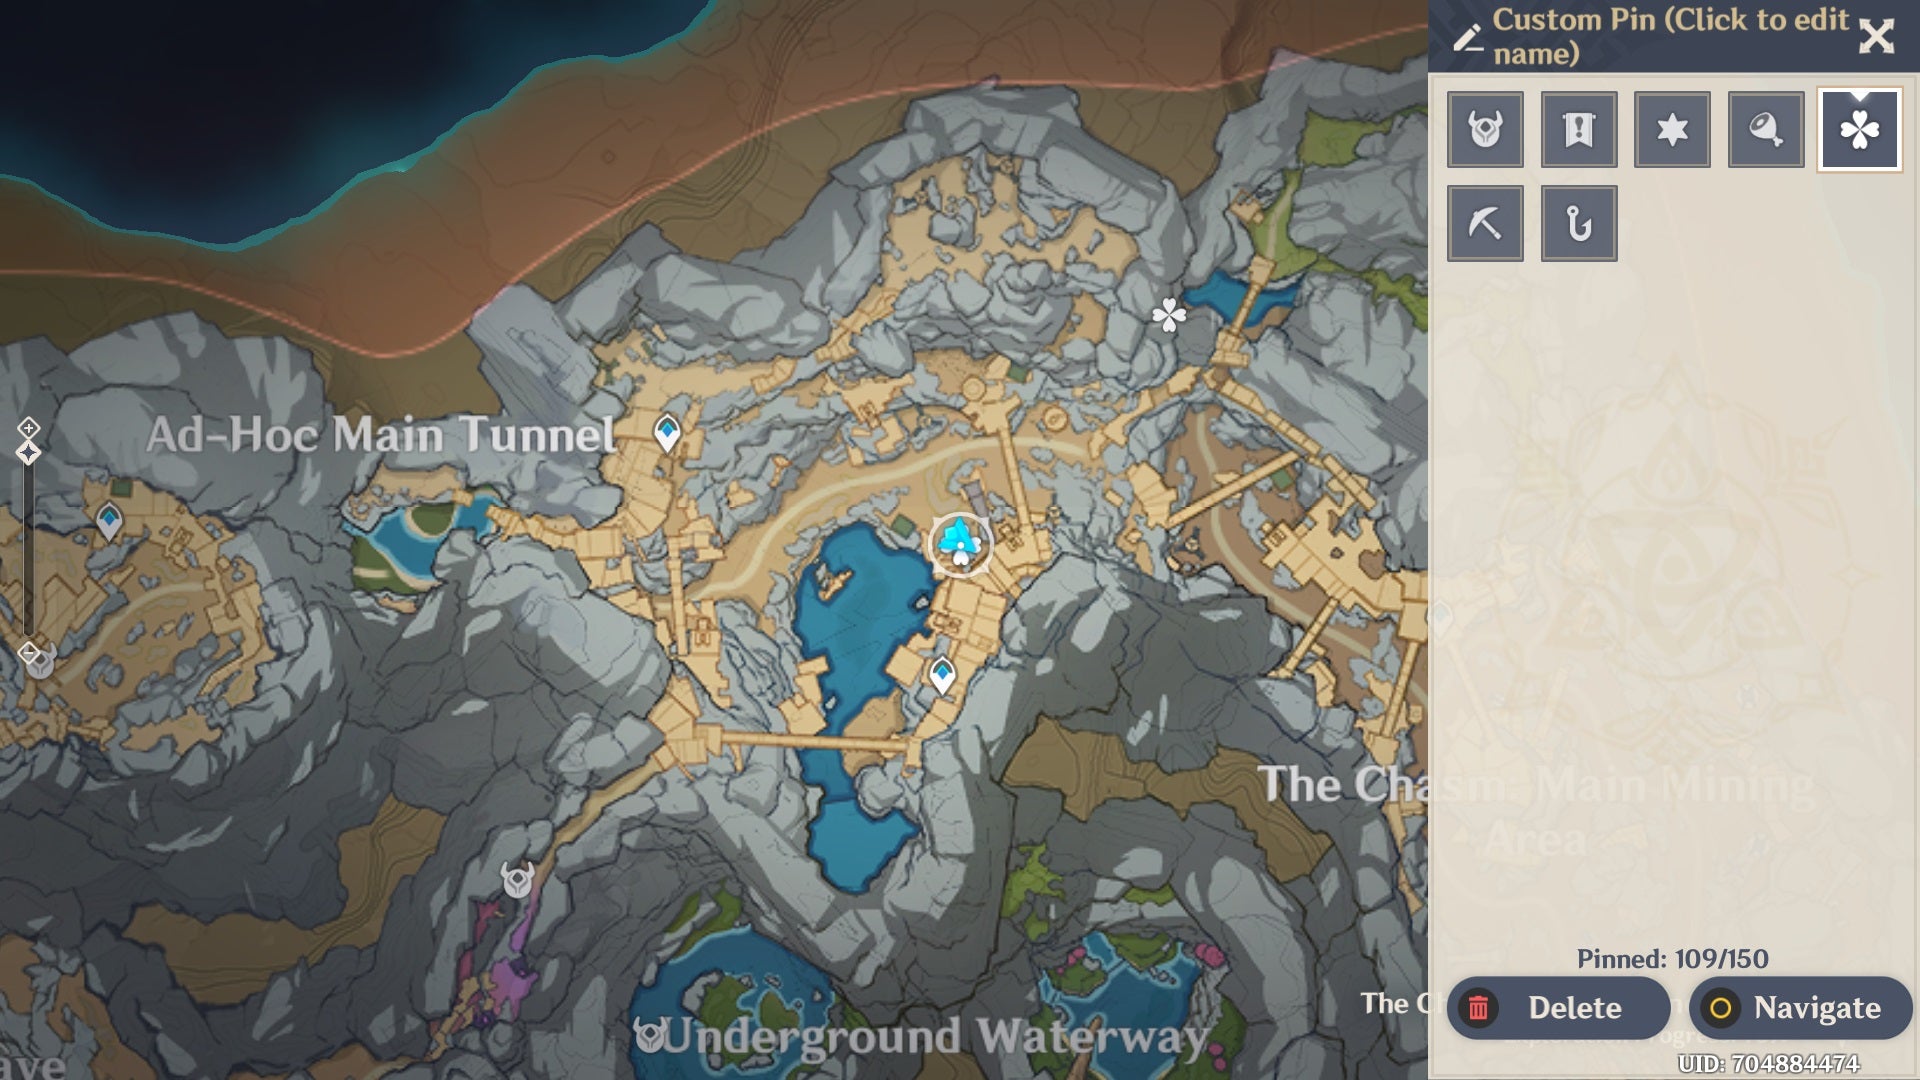
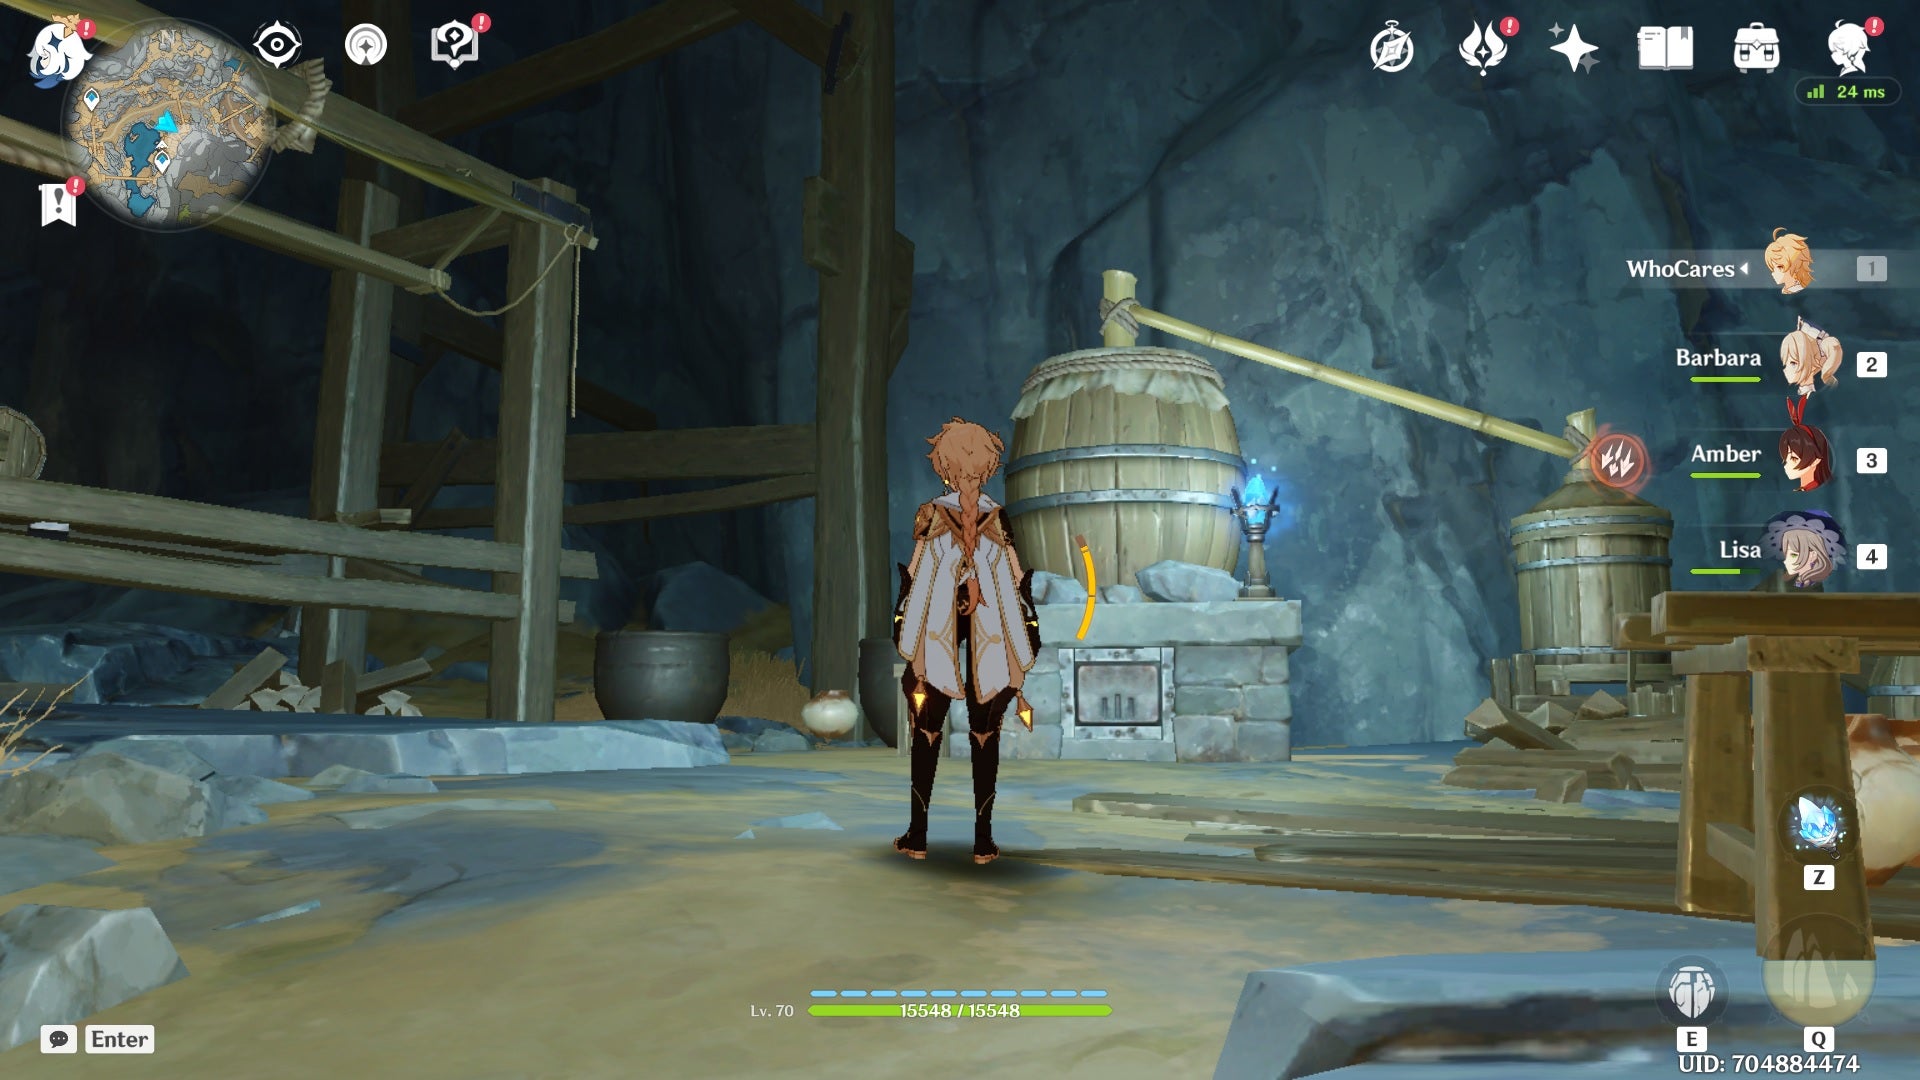
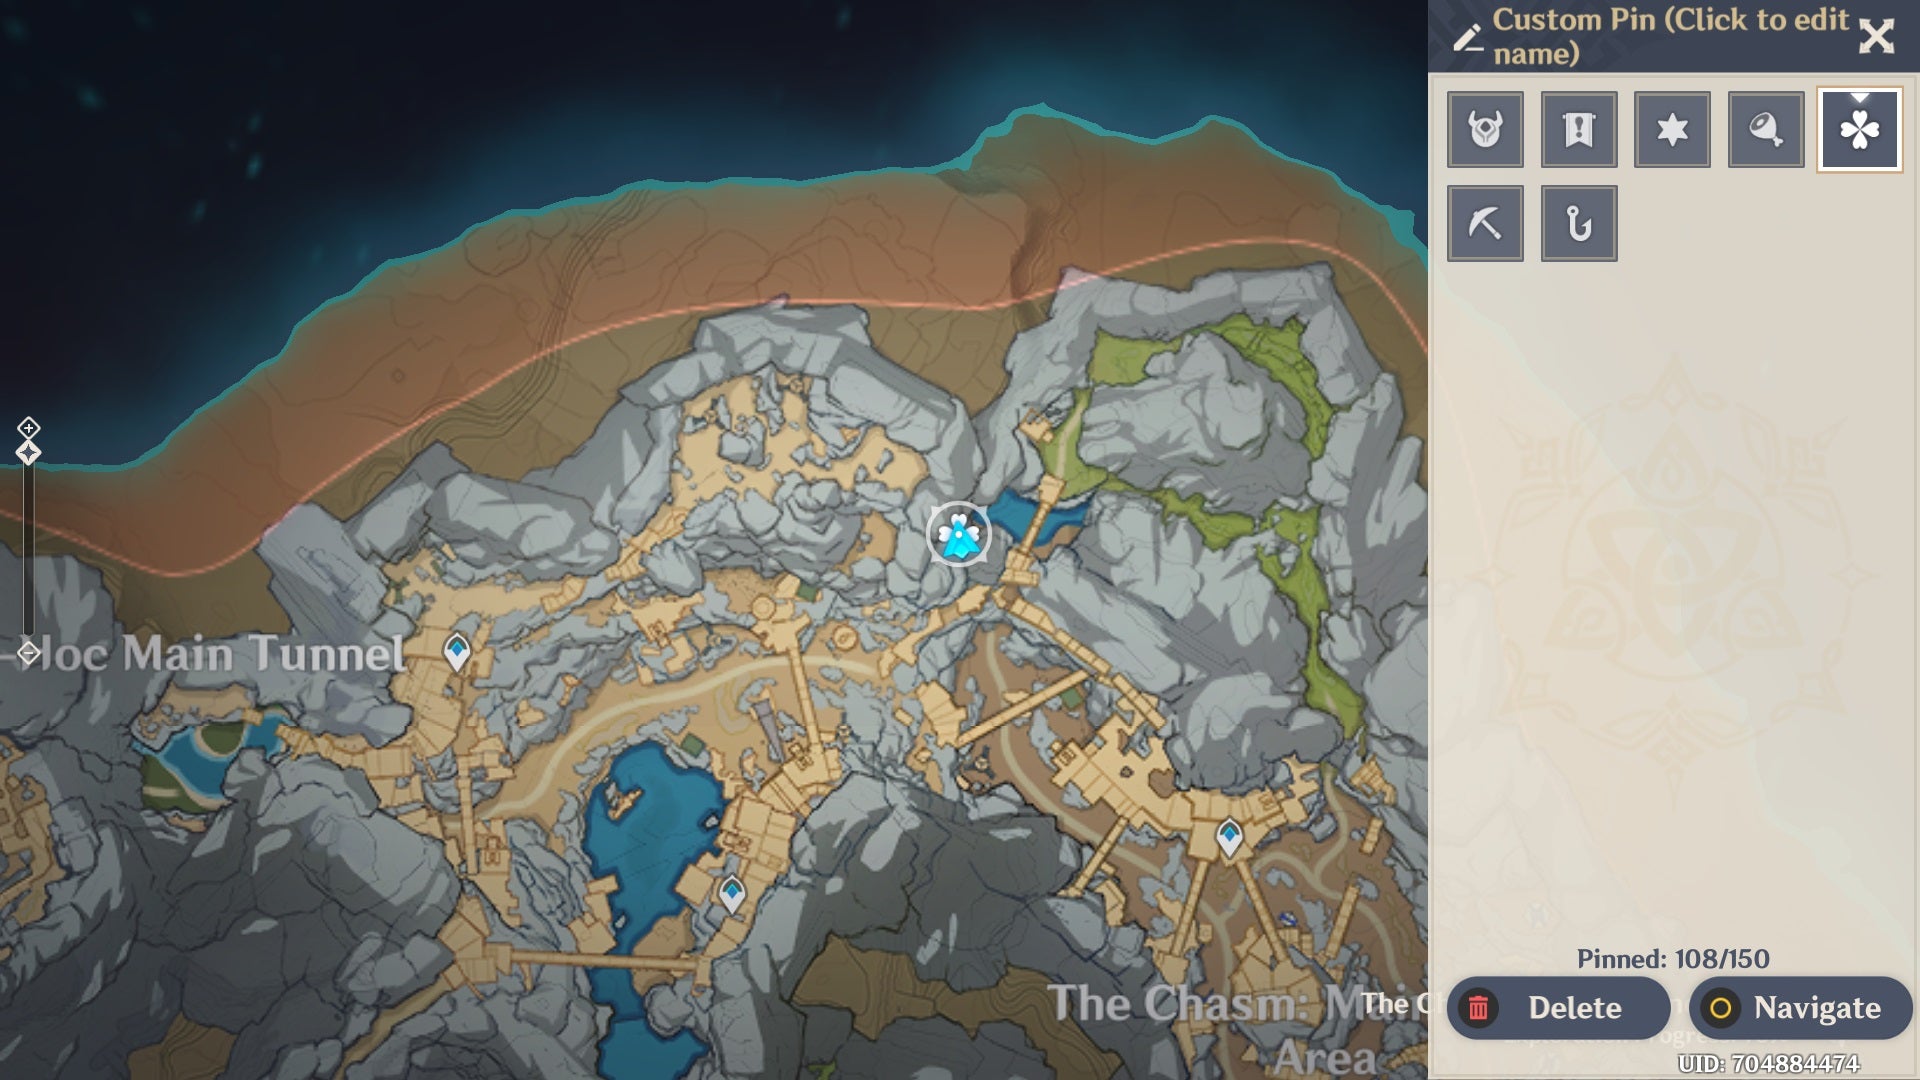
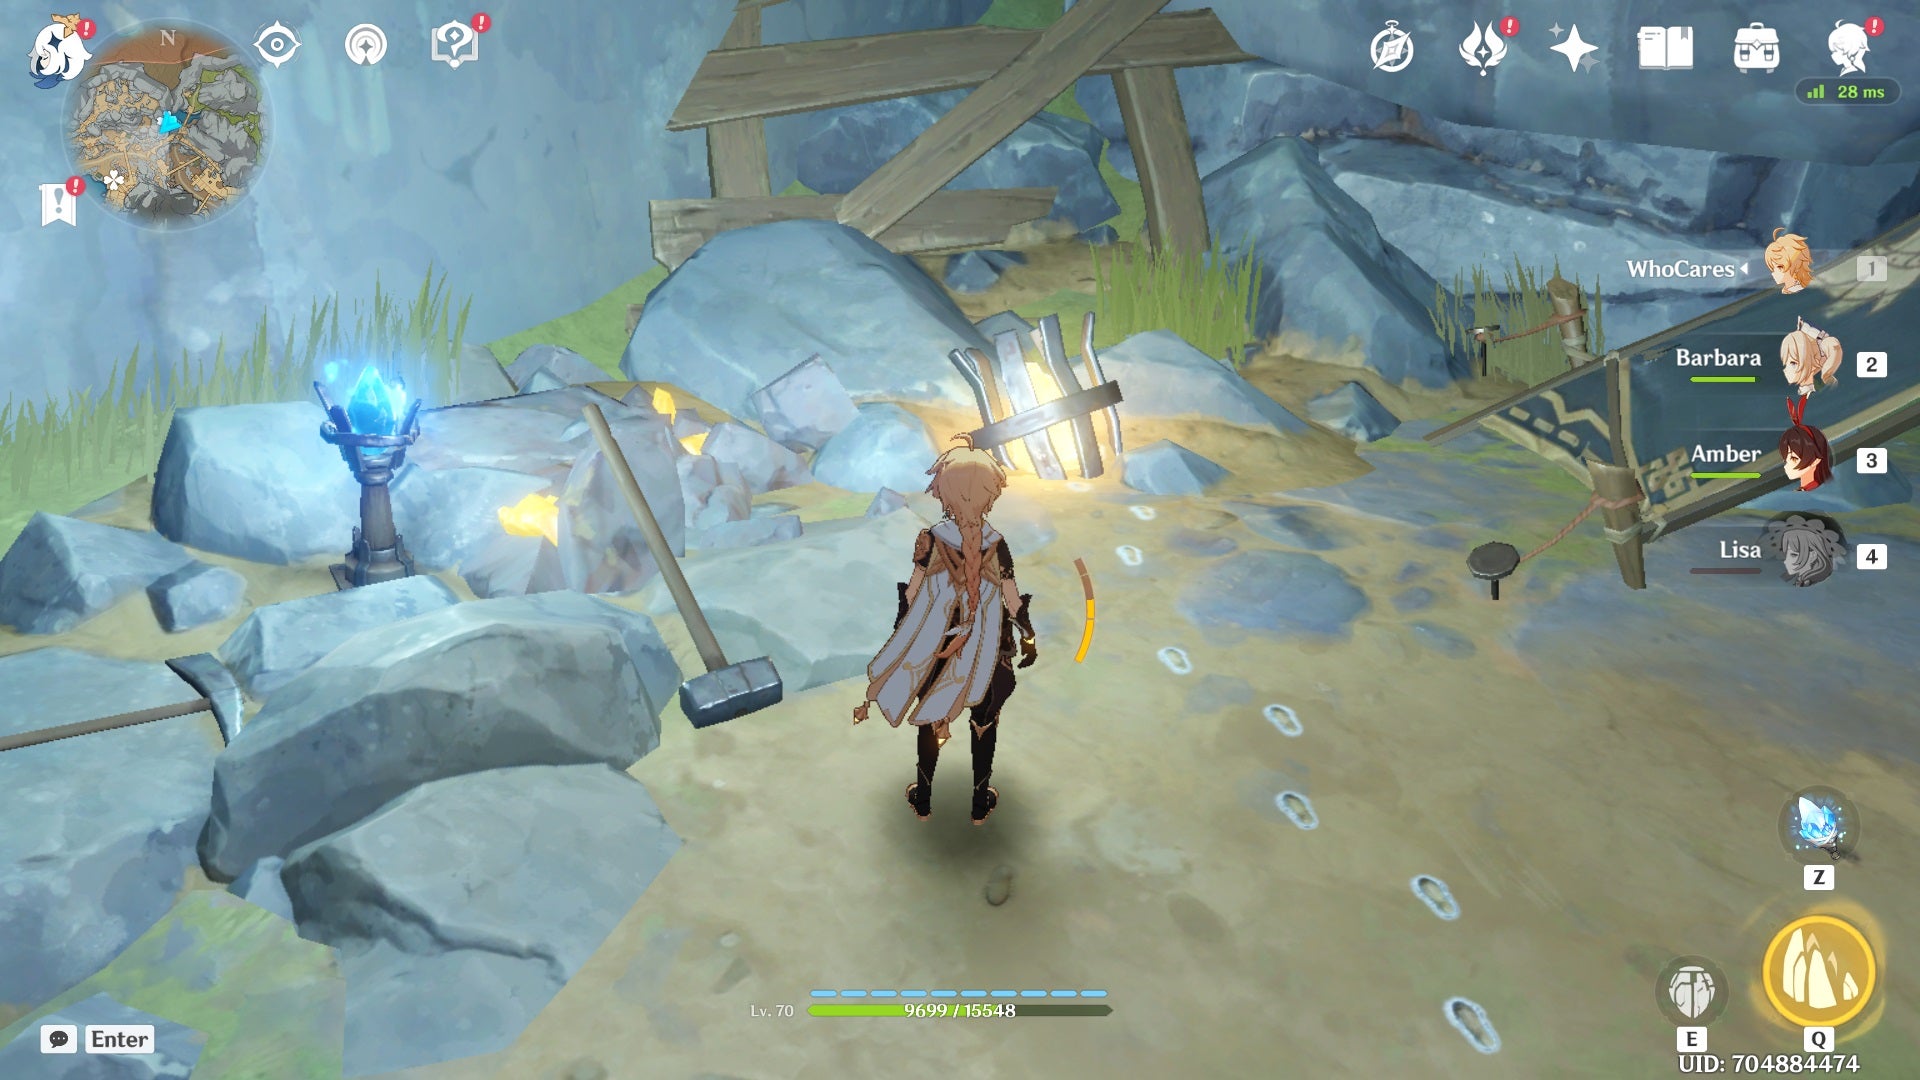
Before you even attempt this step, you’ll want your Lemunstone Adjuvant at least at level 2, so you can dispel some of the corruption around the map. In order to do that, you’ll have to collect eight lemunspar, which can be found in our handy dandy lemunspar location guide. Still to the Ad-Hoc Tunnels and the Main Mining Area, and you’ll find eight in no time. From there, teleport to the Main Mining Area waypoint that borders the Ad-Hoc Tunnels, in the top left of the zone. Glide down to the ground below, towards the water south of the waypoint, and clear out the enemies near the water purifier. Once the area is clear, use your Lemunstone Adjuvant to clear away the corruption. Then, look at the top of the purifier. You’ll see a pot at the top, which you can break for your first key. Following that, travel to the green area in the top left of the main mining area. Once you reach a wooden bridge, jump off and head left. Clear out the enemies you find near another water purifier. Once it’s clear, look left of the purifier. There you’ll find an explosive barrel near a sledgehammer. Blow it up, and the key will be yours to claim!
Signalling the cannon
This is where most people get stuck. From the Main Mining Area waypoint, high up on the wooden platforms, your quest marker will point you towards an observation point rather than the beacons you need to adjust. The first beacon can be found lower down on another wooden platform overlooking the mining area. Glide down to it and set it to a low frequency, you’ll know it’s set right when it flashes once every few seconds. The second beacon can be found further to the west, on top of another platform near a vista point. Glide down and set this beacon to a low frequency too. The final beacon can be found all the way on the ground, in a corner covered in corruption. First, clear this corruption using your gadget, then go ahead and set it to a high frequency. You’ll know it’s high when it’s flashing every second or so, but if you’ve set the previous two beacons correctly you can just cycle through the options until it auto completes.
Shooting the cannon
Once you’ve releases the safety lock, strut your stuff over to the cannon and get inside. You’re aiming for the rocks blocking the path ahead of you for this, but don’t worry about shooting off test shots as you have unlimited tries From there, all you need to do is head south towards the Rocky Halls and you’ll be done! For more Genshin Impact guides focused on The Chasm, check out our guide on the best Ayato build, and all Millennial Miner item locations.
