You’ve killed The Fleeca Job, The Prison Break, The Humane Labs Raid and Series A Funding, and now you’re ready to cash-out. The Pacific Standard Job is a classic bank stick-up with a potential take of $1.25 million and the hardest finale of all. This is GTA Online Heists on the limit. You’d better make sure you bring a bunch of body armour.
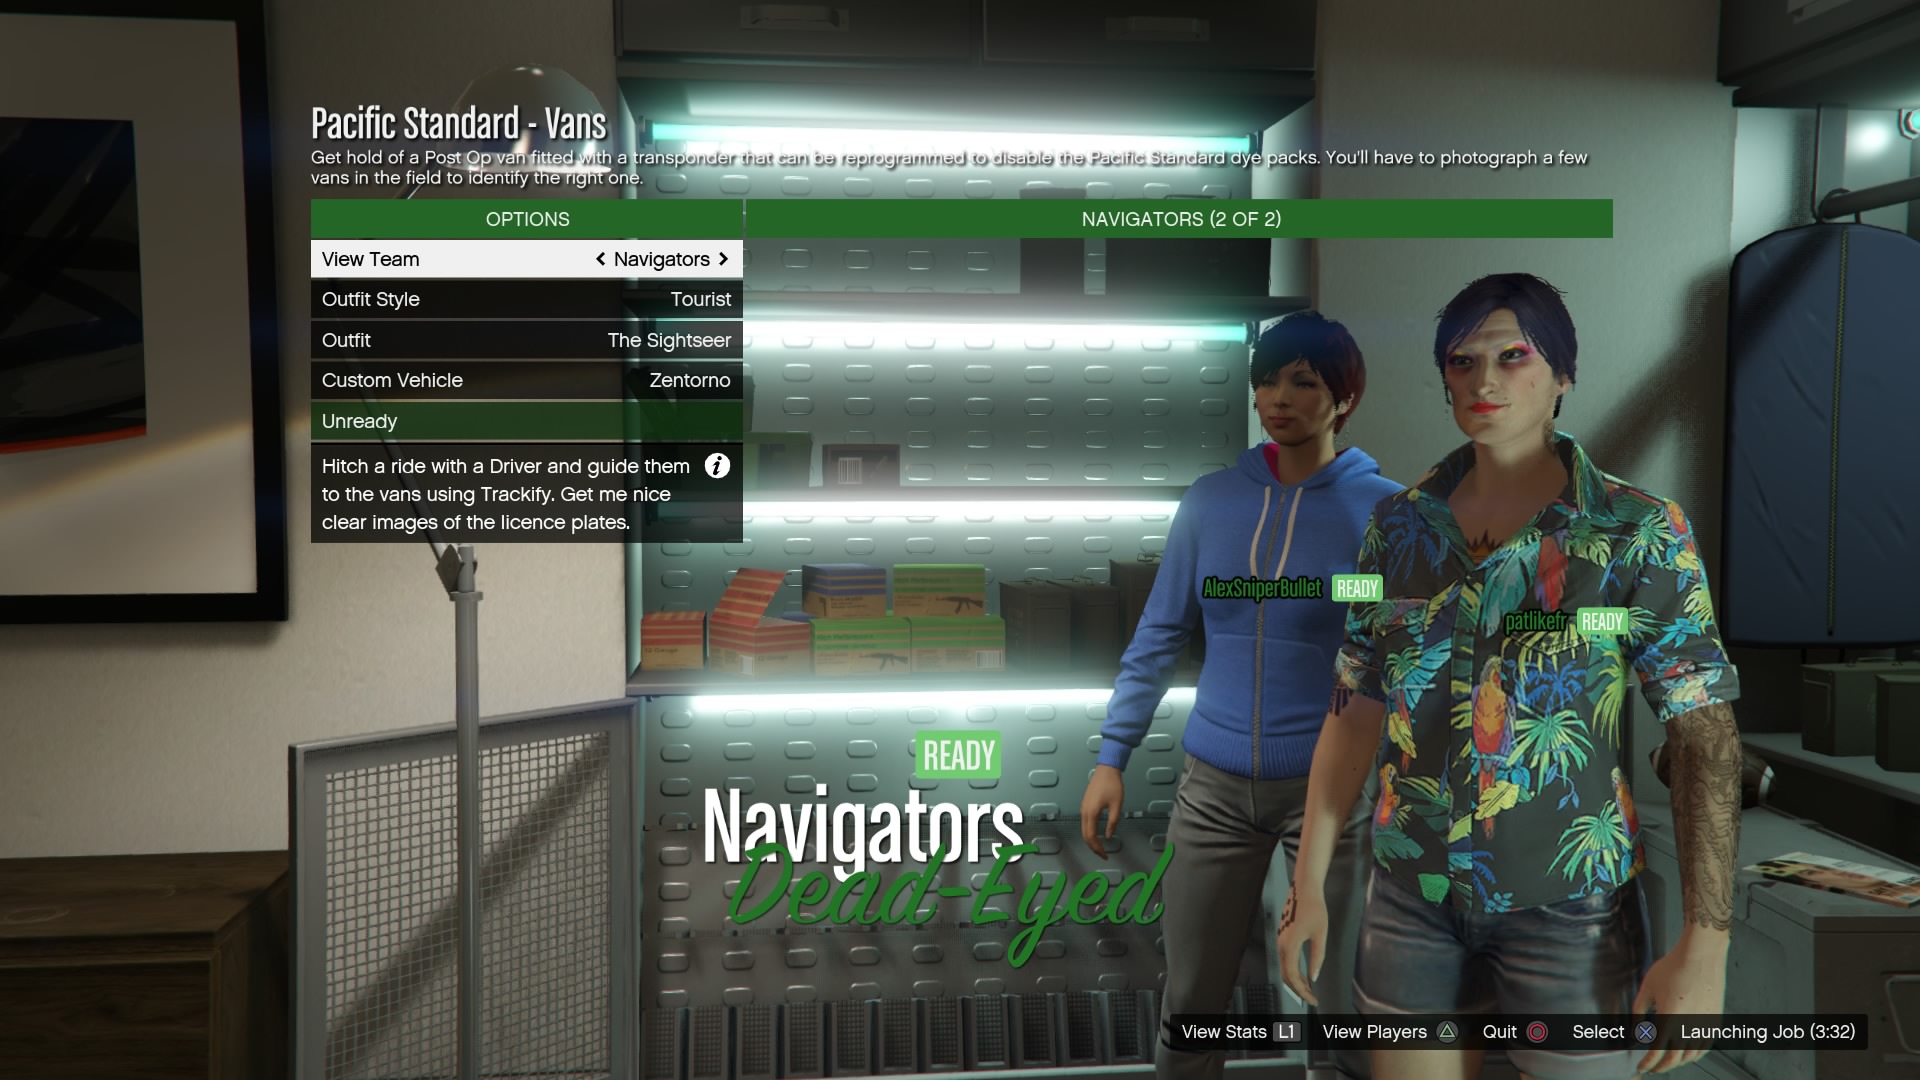
How to do The Pacific Standard Job set-up 1 – Vans
Vans is a fun set-up. The object is to steal a Post Op van fitted with a transponder that can be reprogrammed to disable the Pacific Standard bank’s dye packs in the finale.
There are two teams here, the Navigators and the Drivers. You’ll need a Navigator and a Driver in each car.
First of all, you need to find the right van. Once you’re driving, the Navigators bring up their phones and use an app called Trackify to trail the vehicles. Press directions on the d-pad to direct the driver towards the red dots on your phone.
Once you have a van in sight, quit out of the Trackify app, launch your phone’s Snapmatic photo app and take a picture of the license plate.
After you’ve taken shots of all the vans, Lester checks out the license numbers and tells you which one you need to steal. Grab the van and take it back to Lester’s factory. You don’t get attacked, so this is easy beans. Onward.
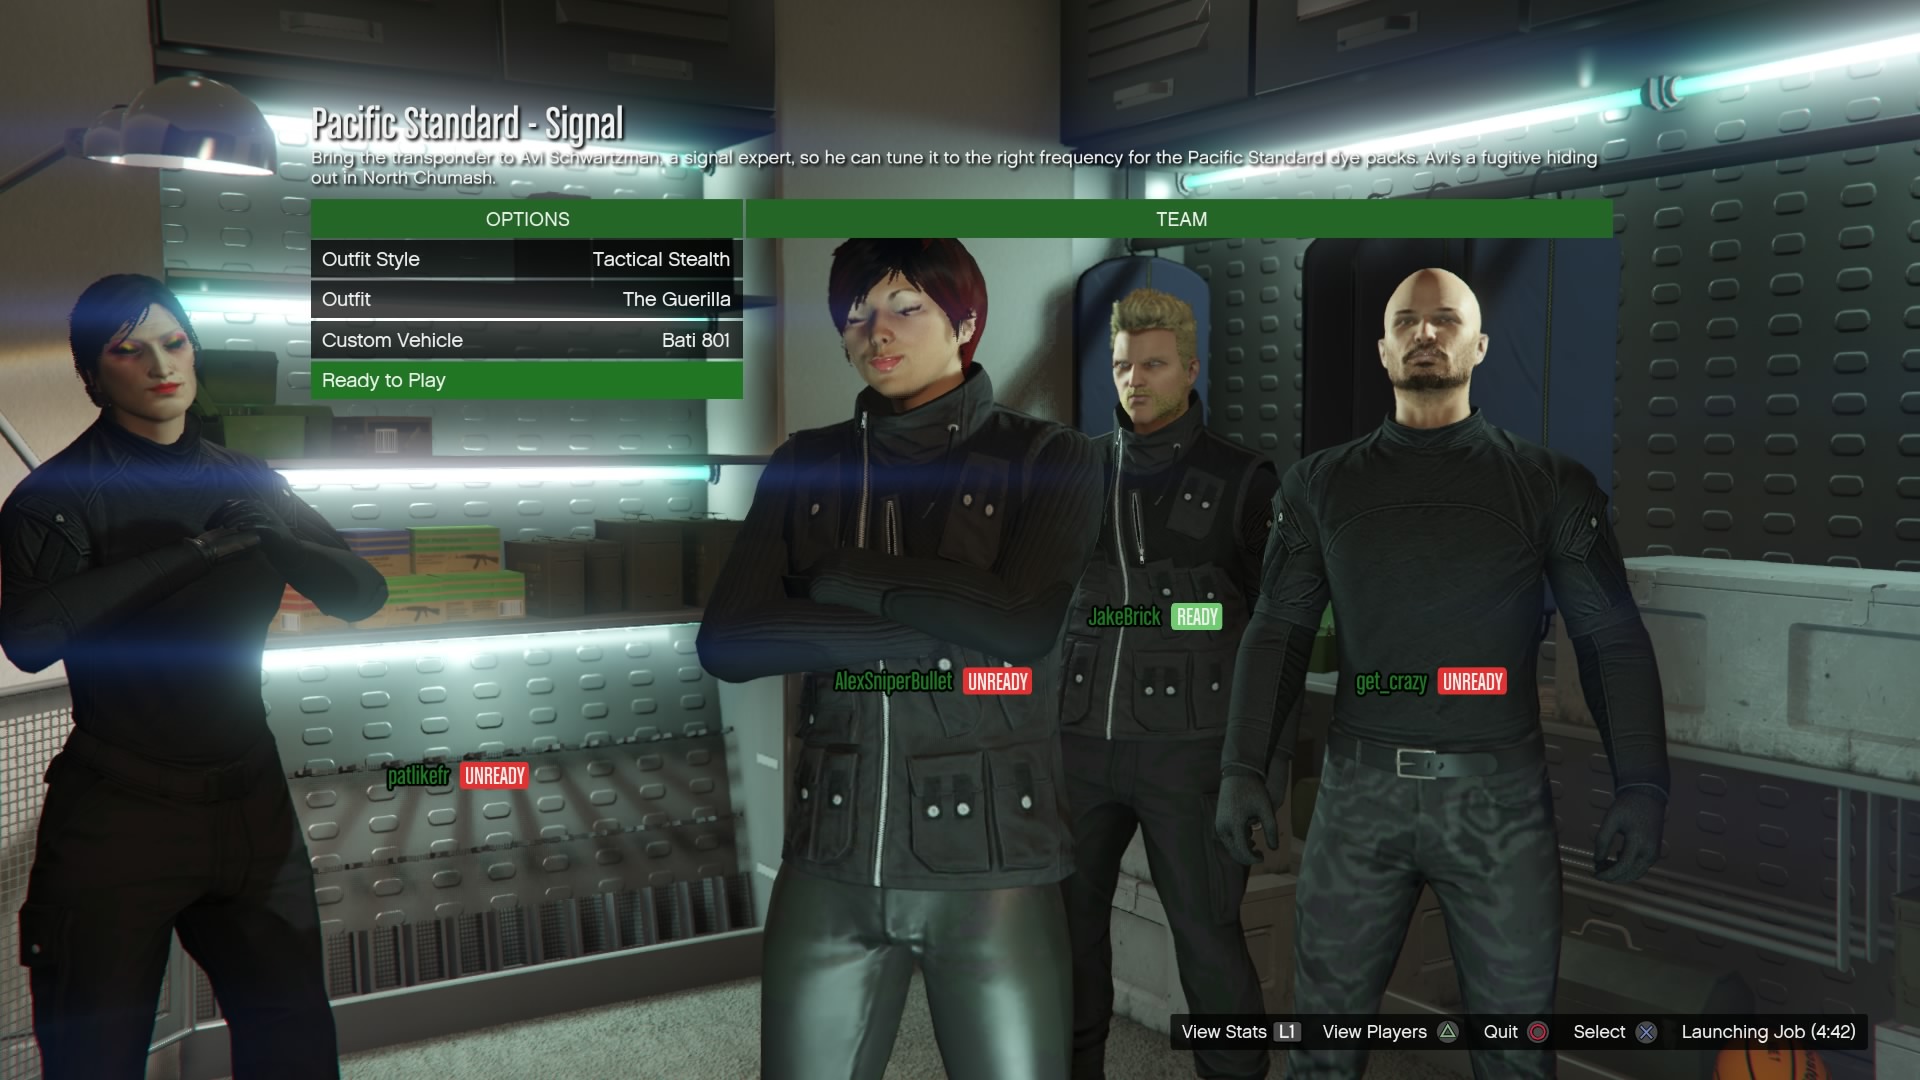
How to do The Pacific Standard Job set-up 2 – Signal
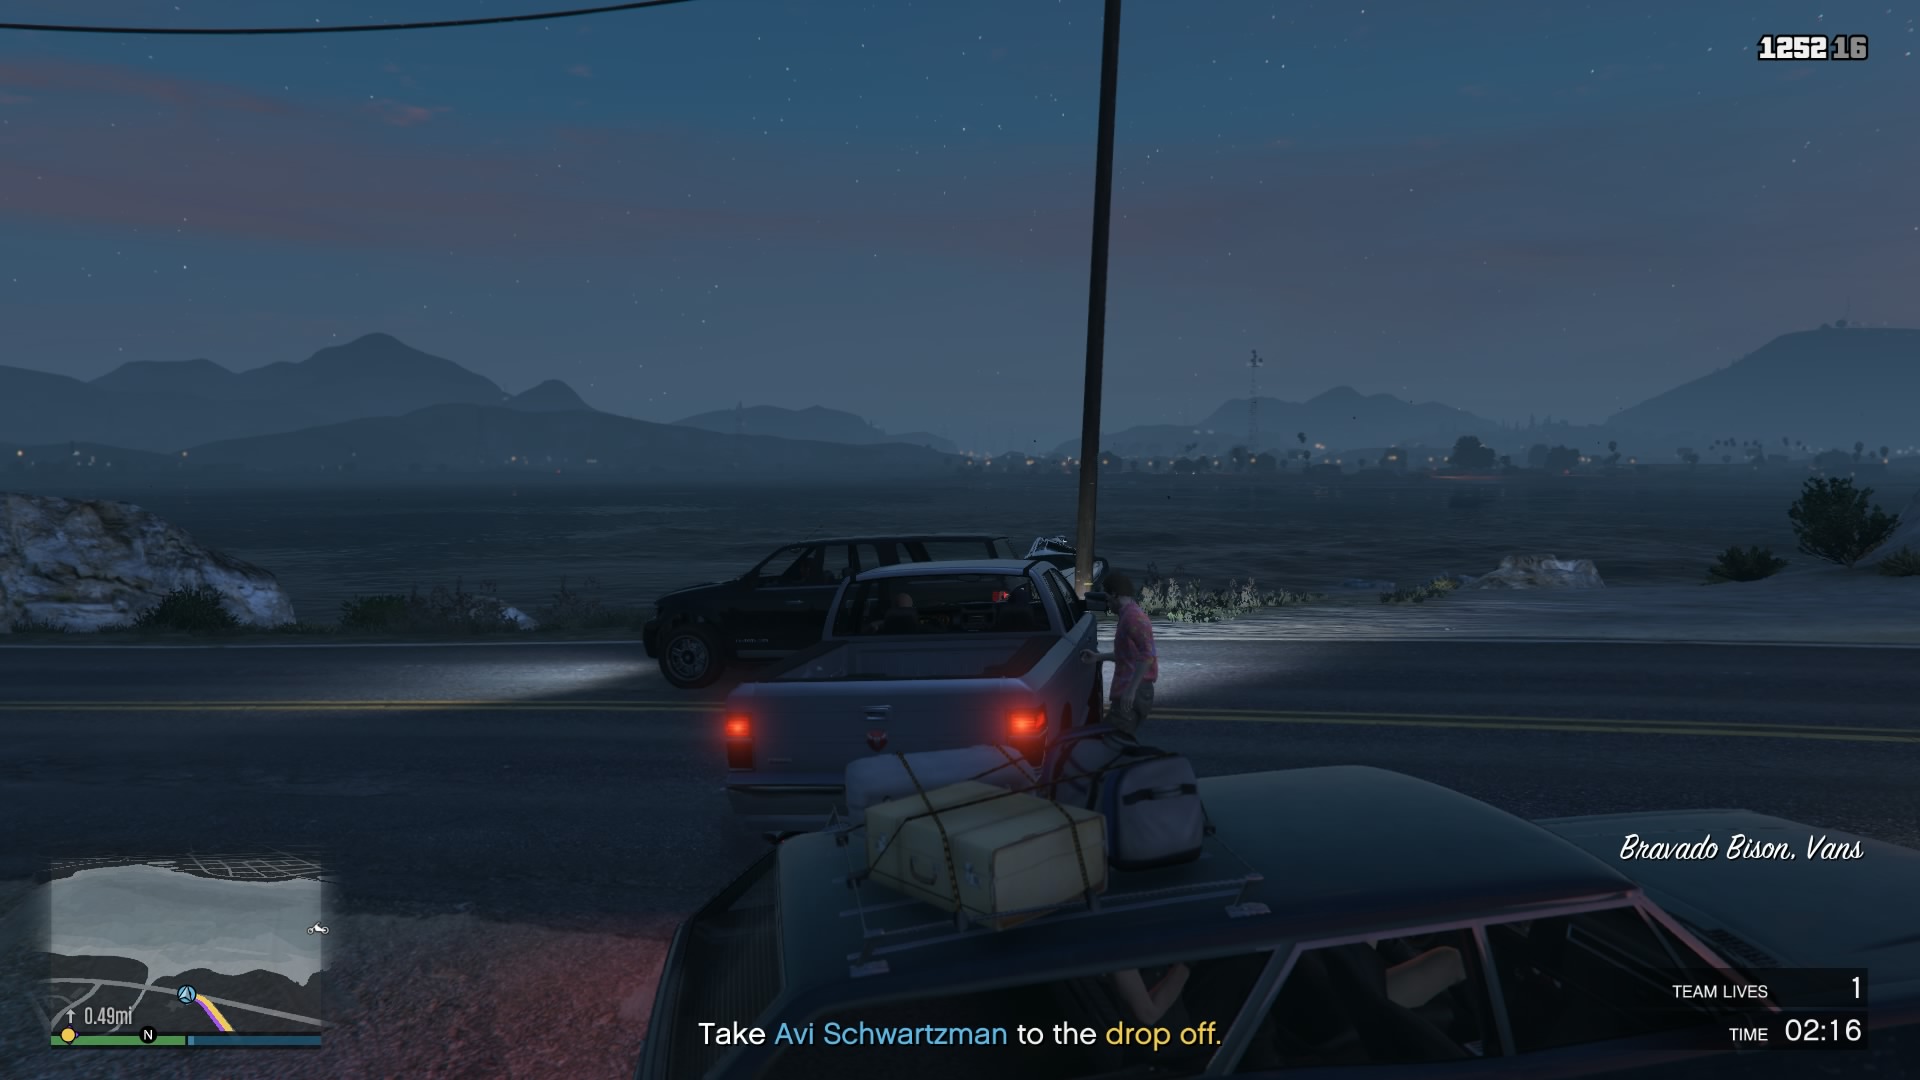
Now you have the transponder, you need to take it to Avi Schwartzman, a signal expert, so he can tune it to the right frequency for the Pacific Standard dye packs. Avi’s a fugitive hiding out on an island in North Chumash. There are no teams on this job.
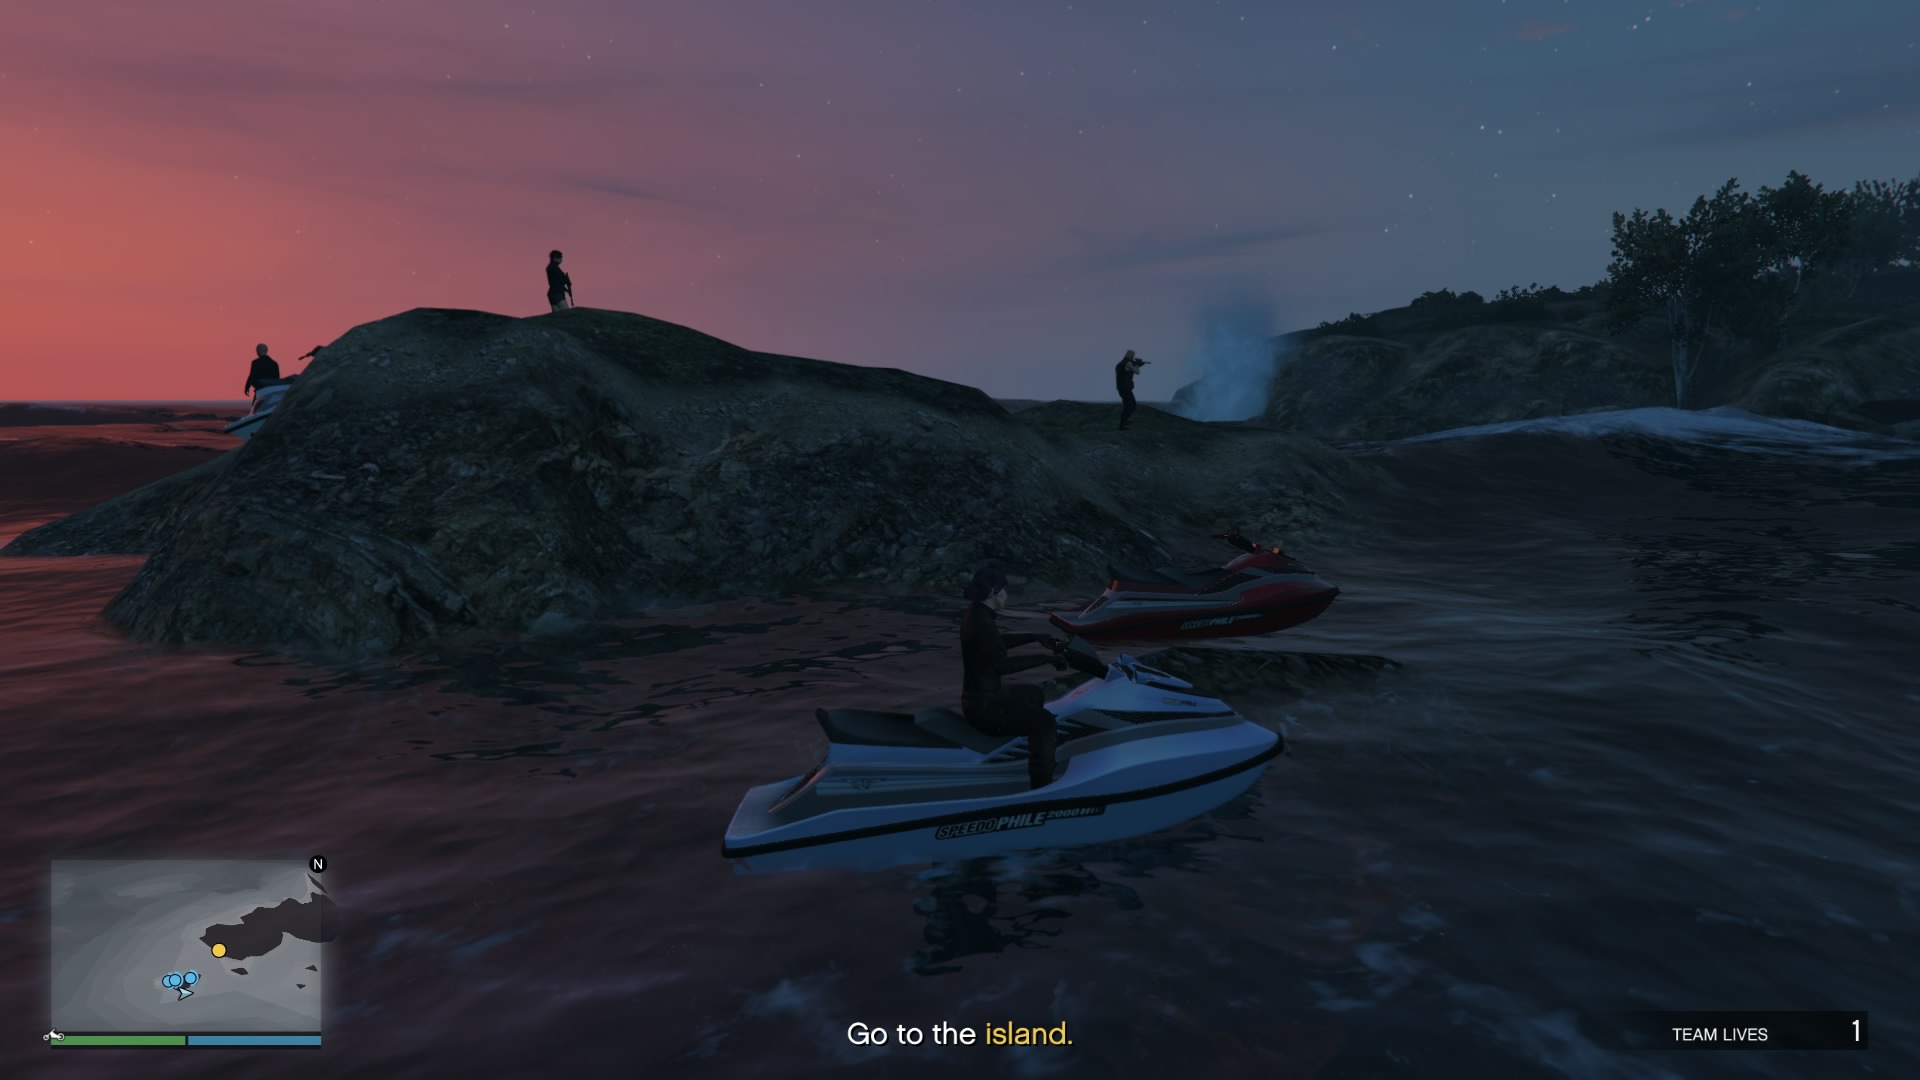
Go to the yellow marker and pick up some jet skis.
Then head out to sea and find the island. These first two sections are uneventful. You just cross the water and arrive at the destination. As you approach, however, slow right down. The island itself is covered in cops, and you’re also going to have to deal with a chopper. Don’t get too close.
You’re going to see a smaller island on the approach. Get off the jet skis, climb up onto the rock and do some sniping to soften things up a little. Get rid of the chopper quickly using rockets and sniper rifles.
Now assault the island and kill all the cops. You’ll encounter many enemies, but they’re relatively weak up against four of you. Head to the blue ring and pick Avi up.
Once you have the VIP, head to the marked boat. One of you is going to have to stand in the middle as there are only four seats, so whoever’s driving will have to take it easy. Once you leave the island, head directly across the sea, go under the large bridge and up the river. You’ll recognise this instantly if you’re familiar with the Boat in the Bay mission from GTA Online. You’re on a timer, but don’t rush so much that you throw the extra player from the back of the boat. Head up the river and just power up the rapids, but be careful of the rocks. Once you reach the lake at the top, head for the yellow dot, where you’re going to be told to lose the cops. The easiest way to do this is to drive the boat out into the middle of the lake instead of trying to escape on land. Just stay in the water until the stars disappear. Once you’ve lost the wanted level, beach the boat, grab a car and Avi will follow you in.
You’re done. Drive to the yellow dot and Paige gives Avi the transponder.
How to do The Pacific Standard Job set-up 3 – Hack
Now you’re going to need to “borrow” a hacking rig from a rival crew in Vinewood. There are two teams on this heist. Three players will be the Decoys and one will take the role of Transporter.
Go to the white van and get in. Two people need to get in the back. Then drive to Vinewood Boulevard.
Kill all the dudes. There are plenty of them, so be careful. You’re going to be pushing into a lot from the street, so use the entrance for cover and watch for snipers above as you turn to the right and head for a black van and the hacking gear.
The Transporter now steals the equipment and gets in the white van.
Once this has happened, the Decoys get into the black van and lead the rest of the rival crew on a wild goose chase while the Transporter safely delivers the white van. You’re going to get caned by many dudes, so don’t stop shooting.
Once everyone’s reached their respective yellow dots, the set-up’s over. You need only destroy the black van to get paid.
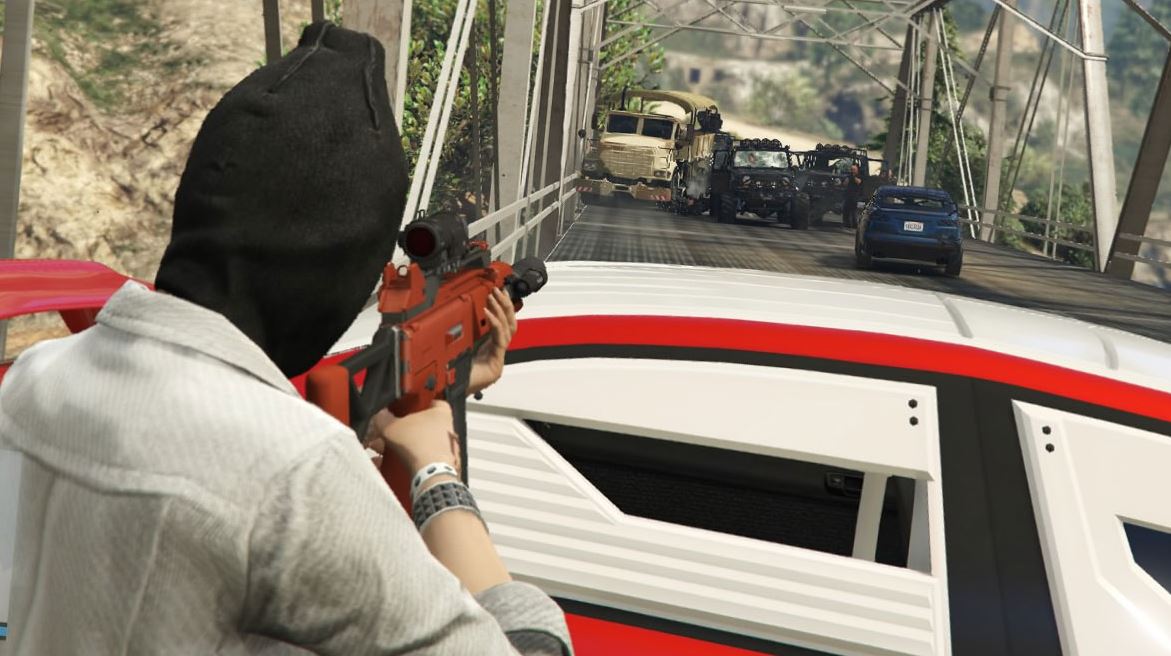
How to do The Pacific Standard Job set-up 4 – Convoy
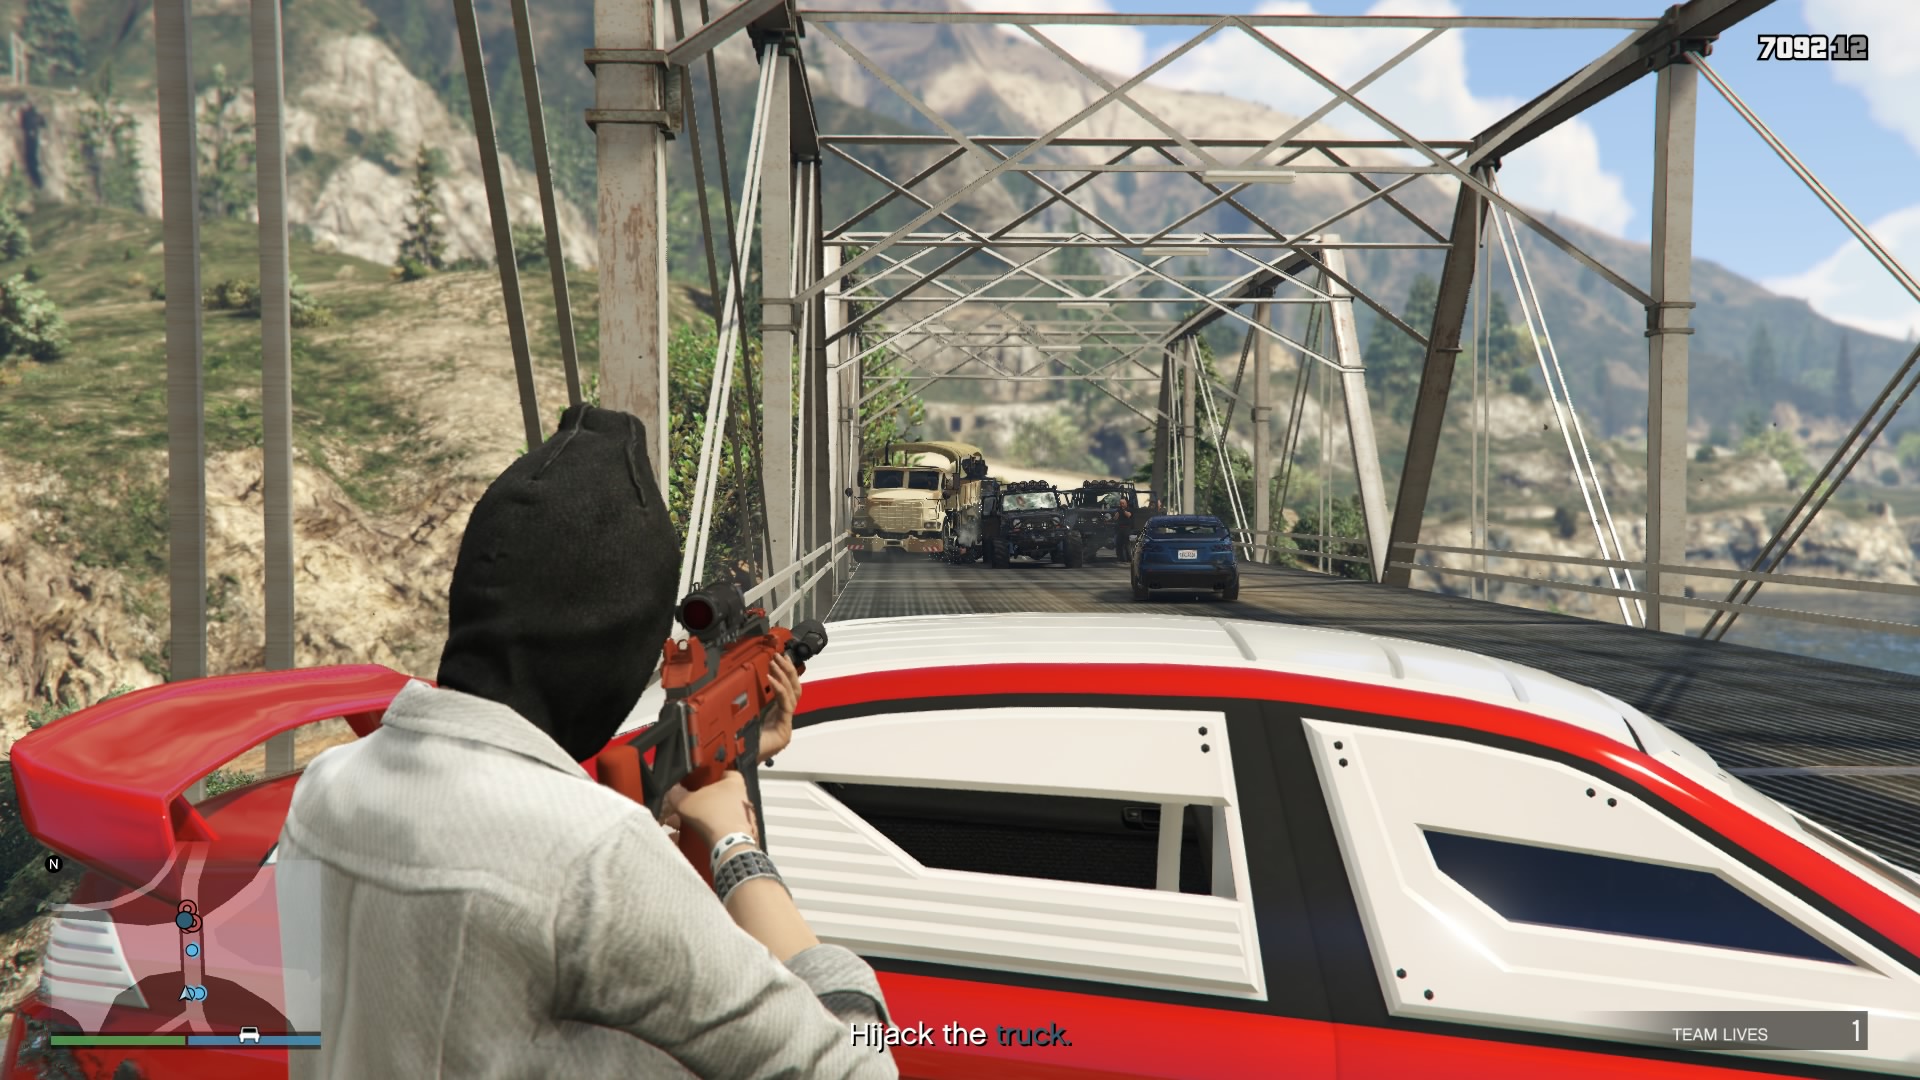
Plenty can go wrong on this set-up, so listen to each other and stick together. The object is to hijack a Merryweather convoy in Blaine county and steal the charges you need to blow the bank’s doors in the finale. There are no teams on this job.
Go to the ambush point, which is on a bridge, in separate cars. The more vehicles you have the better, as you need to block the road. You have to steal a military truck. Set up the bridge to stop the convoy, but don’t rig it with explosives: if the truck blows up, it’s game over.
The first thing you’ll see is a chopper. Snipe it before the rest of the convoy turns up and runs into your roadblock. When it does, kill everyone.
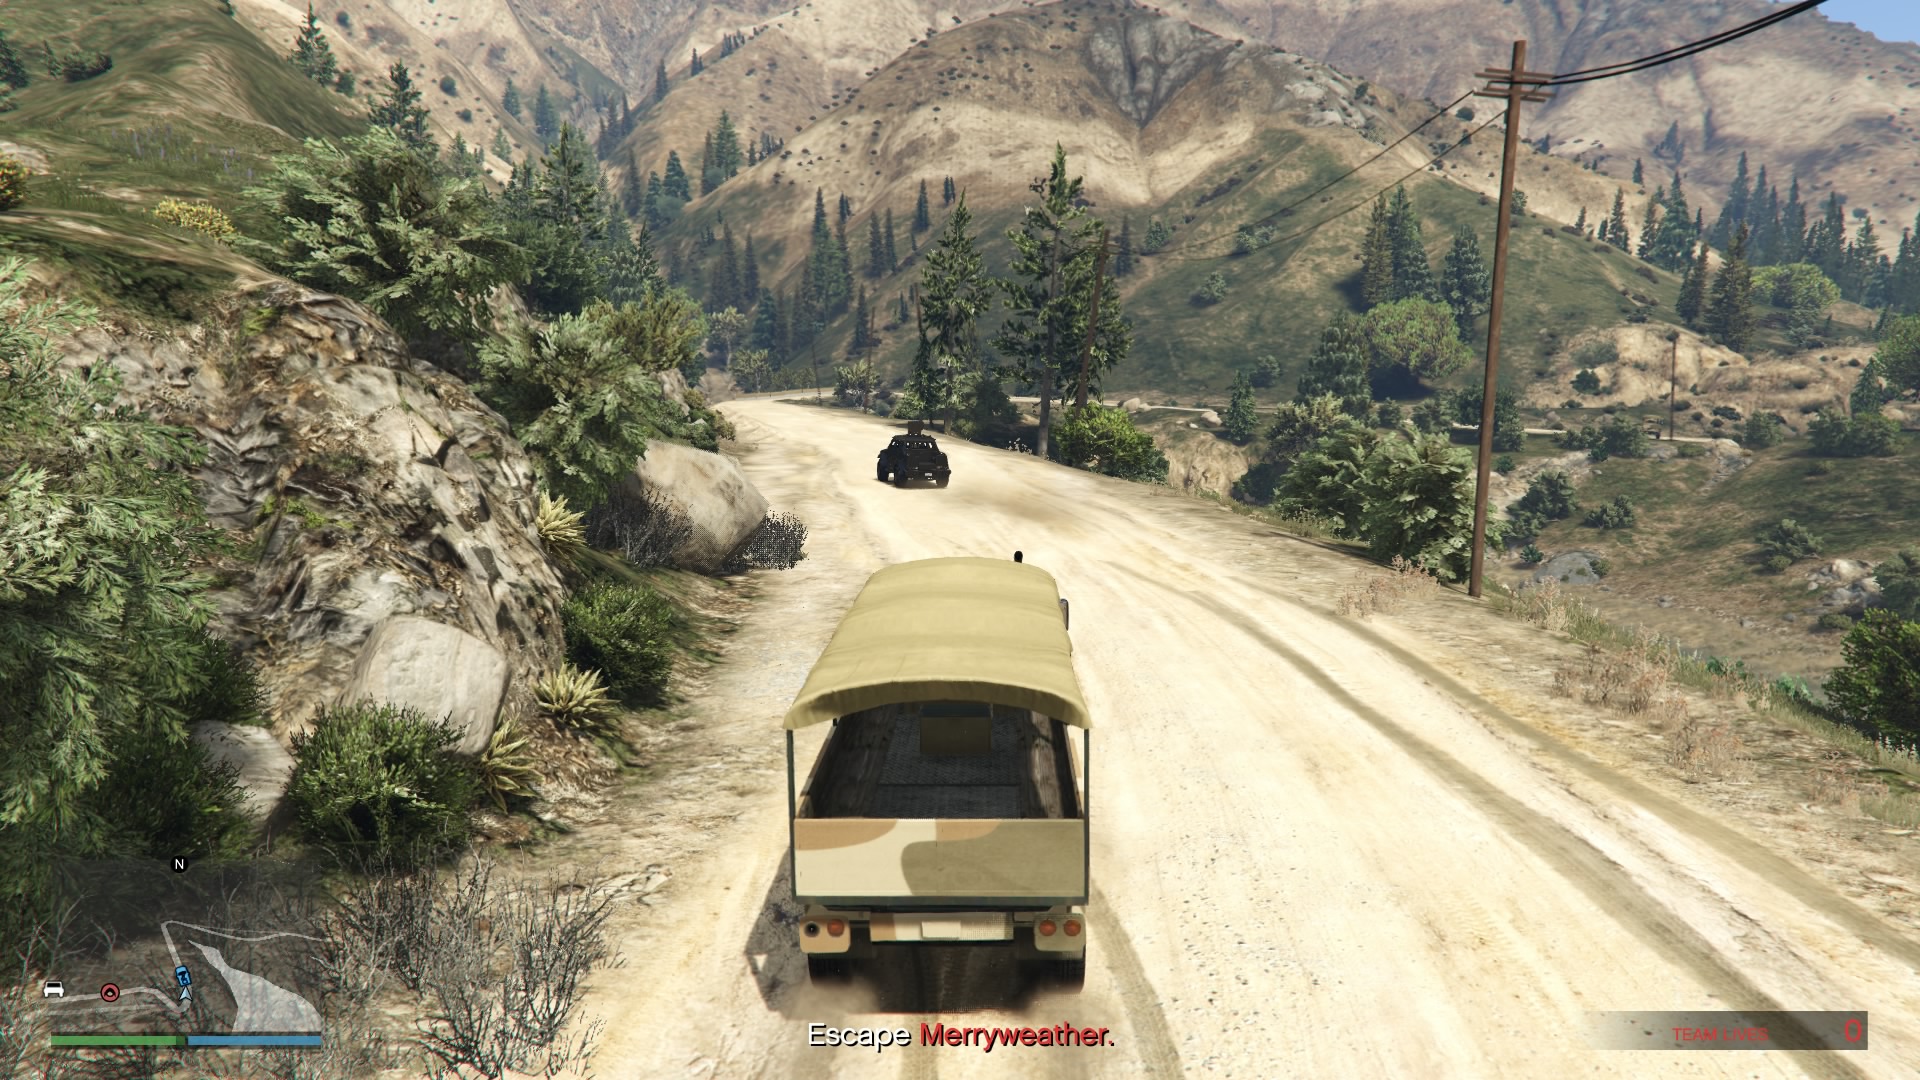
Once the Merryweather guys are dead, grab the truck and the Insurgent. Two players should go in each vehicle, with the Insurgent leading the way. Just shoot everything and keep moving.
When you get close to the drop-off, you’ll see a message telling you to escape Merryweather. Kill any remaining dudes.
That’s it. Just deliver the truck to the yellow dot. You’ll get a bonus reward for completing this set-up, as it unlocks the Savage chopper for purchase.
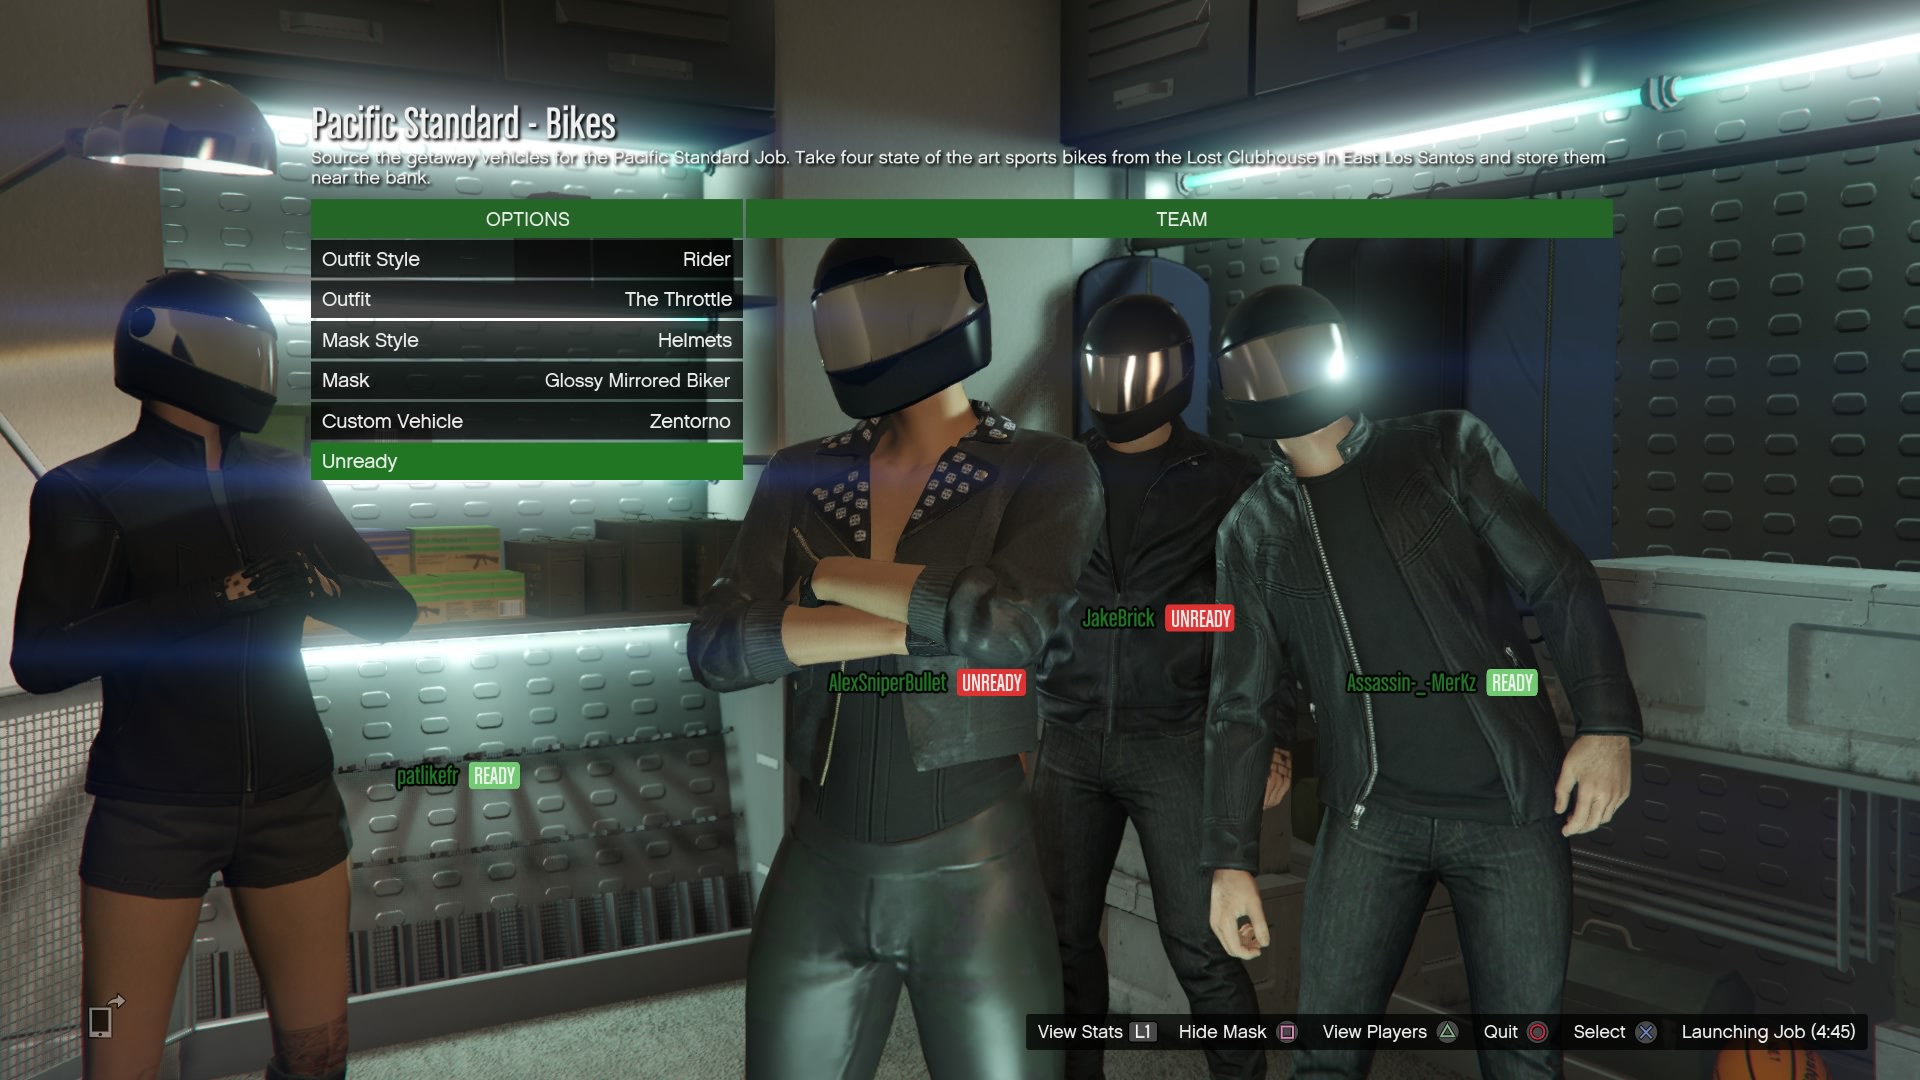
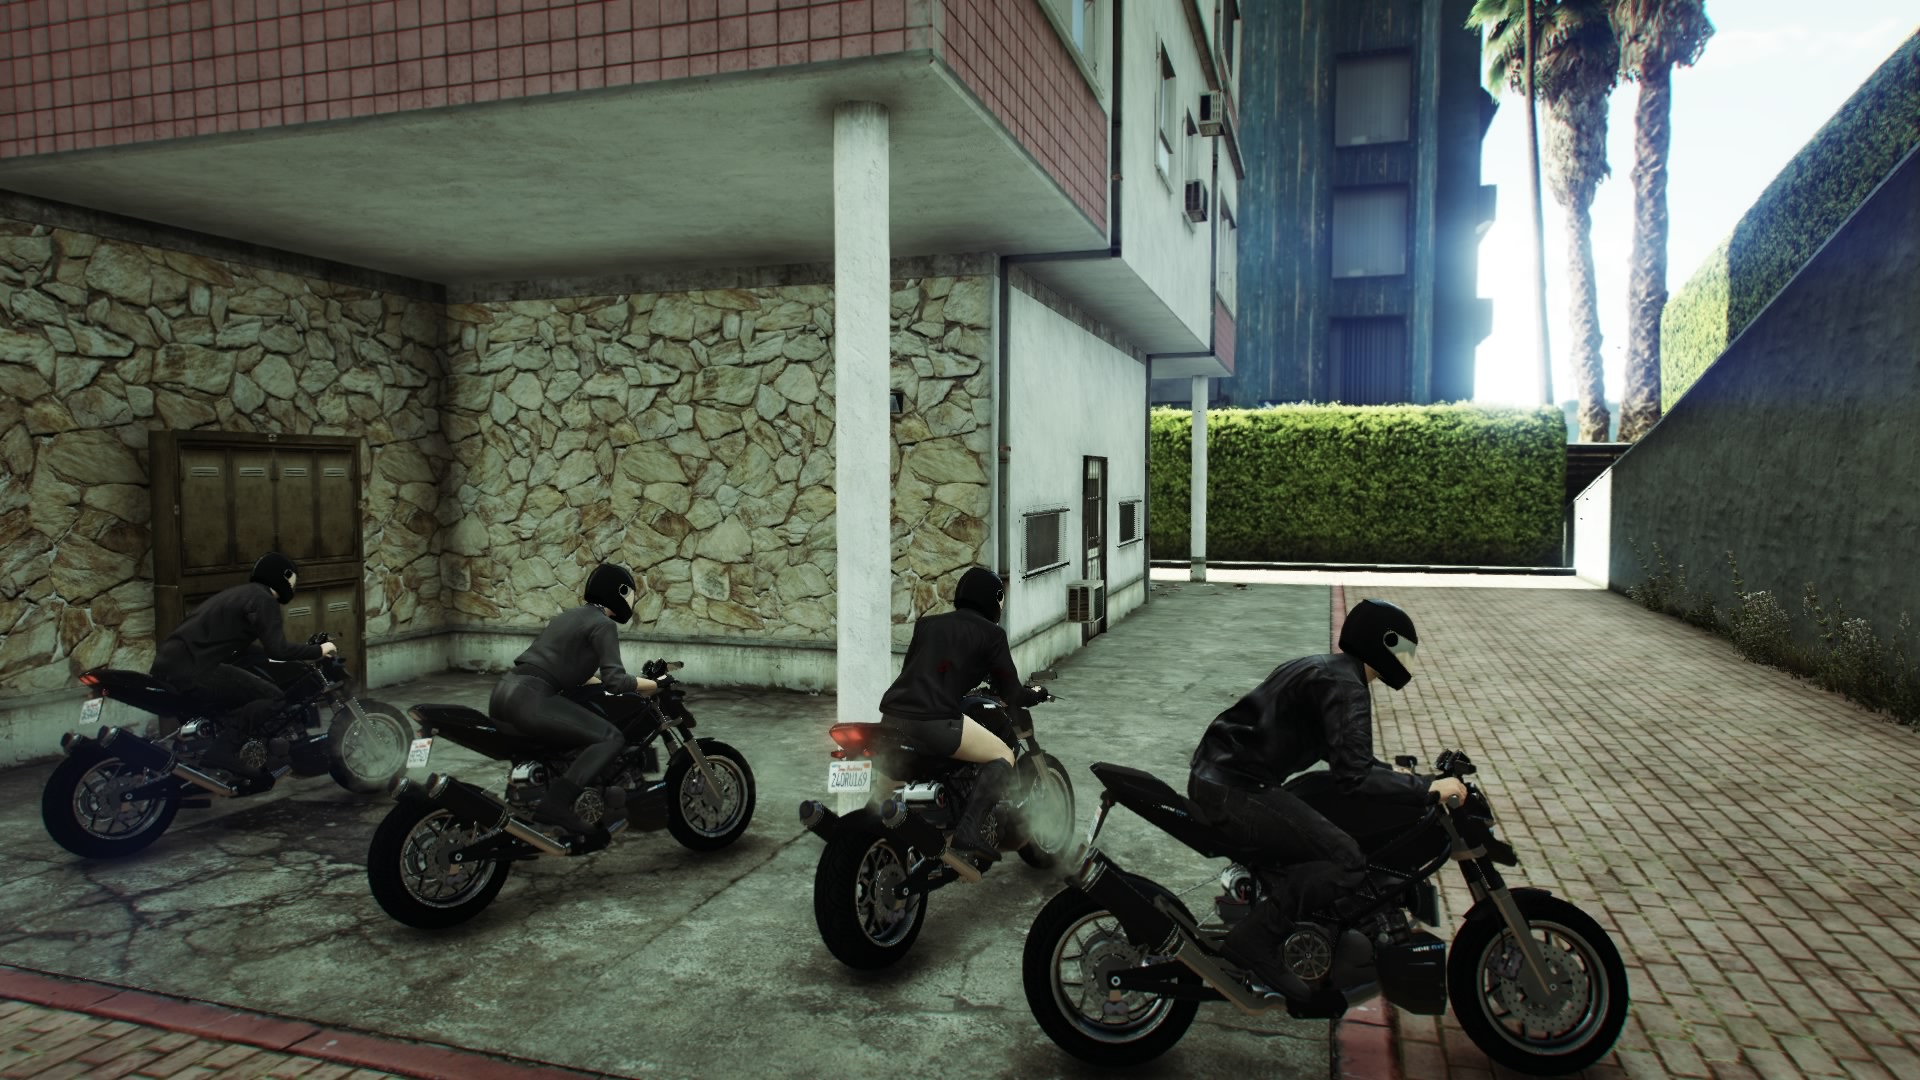
How to do The Pacific Standard Job set-up 5 – Bikes
You’re nearly done. All you have to do before the robbery itself is steal some sports bikes from the Lost and leave them near the bank. There’s a trick to making this set-up infinitely easier, so be sure to read our advice carefully. You’ll save yourself a lot of pain. There are no teams on this job.
Go to the Lost clubhouse. Kill everyone, but don’t use explosives as they may destroy the bikes.
The vehicles you’re looking for are sports bikes called Lectros, not the Lost’s usual choppers. You’ll see one of the far right of the row in the image below.
Now for the tricky bit. You have to take the bikes to a drop-off near the bank, but the Lost will have set up roadblocks. As all four of you are on bikes, the chances of someone crashing or getting shot are high, but there’s a neat trick to avoiding the worst of the enemies. When you leave the clubhouse area, don’t turn right, even though the yellow line on the map tells you to do so. Go straight on, and then turn right. You’ll avoid all the roadblocks this way. Then just follow the line to the yellow dot, which is hidden behind a building off the street. And that’s that. Now for the biggie.
How to do the finale - The Pacific Standard Job
Listen up, because this is the hardest finale in GTA Online Heists by some distance. The Pacific Standard Job is a classic bank robbery with a hellish getaway, but the reward is substantial. If you max it out, you’ll be splitting $1.25 million.
There are three teams in this finale: Hacker, Demolition and Crowd Control.
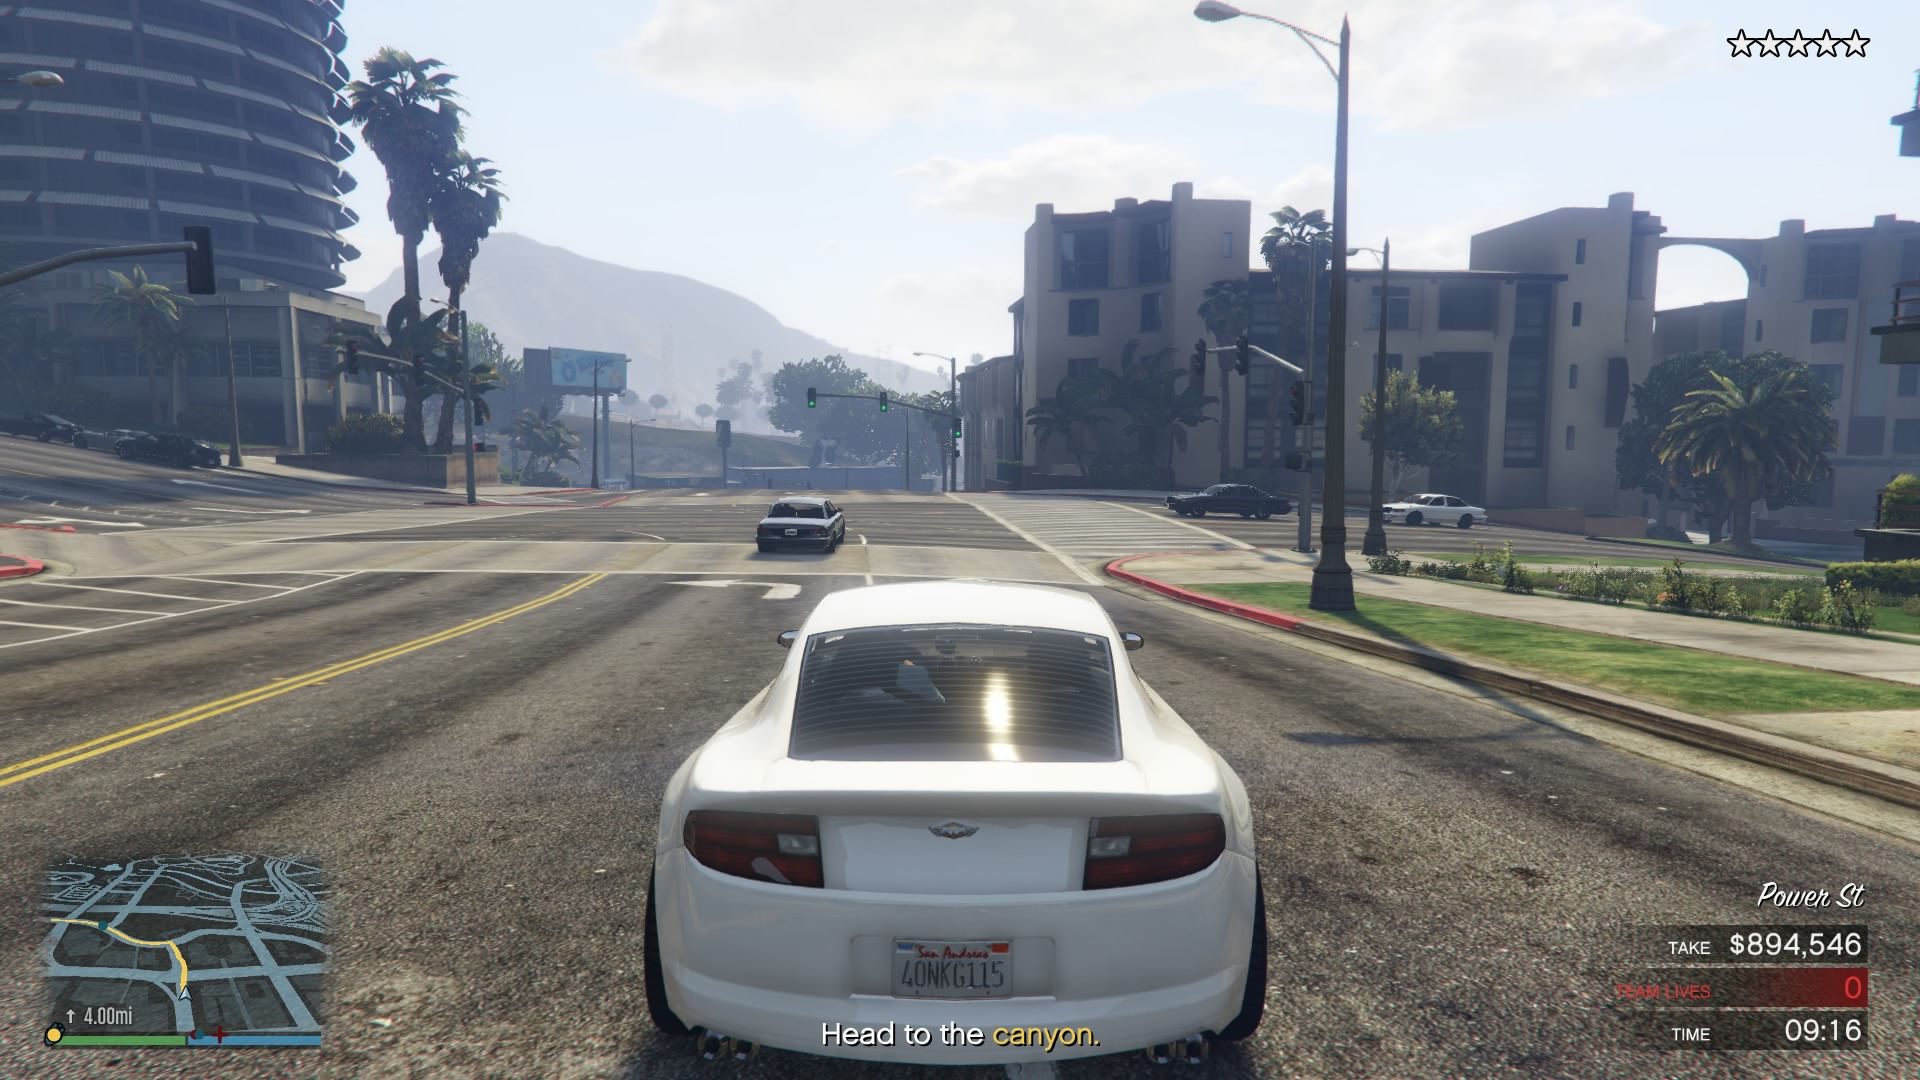
Go to the bank. Everyone get in the same car. Don’t get a wanted rating on the way to the bank or the job will end. Once you arrive, walk up to the door.
You’ll see a cutscene when you walk inside. When instructed, the two members of the Crowd Control team need to kill the guards and intimidate the members of the public inside the bank. Just aim your weapons at people and shoot close to them, but don’t kill any of the blue dots. Watch the yellow bar in the bottom right of the screen to make sure they stay intimidated. If they don’t, someone will trip the alarm.
While the Crowd Control team is keeping everyone quiet, Hacker and Demolition move towards the vault. Demolition will place a thermite charge on the door at the back of the bank’s lobby.
Once the first door is opened, Demolition will place another thermite charge on a second door at the top of a flight of stairs. Once this is open, one member of the crowd control team needs to move into the backroom to intimidate the tellers and watch for security guards coming down the stairs. Kill them quickly when they appear. Hacker now goes to a terminal on the wall outside the vault and opens the door. There’s another titanium gate that needs to be burned with thermite by Demolition. Once that’s done, walk into the vault. The alarm will sound as soon as Hacker and Demolition start grabbing the cash from two tables inside. That was the easy bit. Once Hacker and Demolition have taken all the money, the whole team regroups next to the door. The world’s entire police force is going to be waiting for you on the other side, so get ready. When instructed, open the doors and hit the cops with everything you have. If you’re packing a minigun, so much the better. Waste the vehicles with rockets. Be warned: you can’t hide inside the bank for too long. You’ll get a failed notice if you don’t leave the building.
Once you’ve killed enough cops, run across the street and start fighting your way down a series of alleyways to get to the bikes. Be careful with rockets, as exploding cars can easily take out team members here.
Keep moving and talking until you reach the bikes, which are all exactly where you left them at the back of the building.
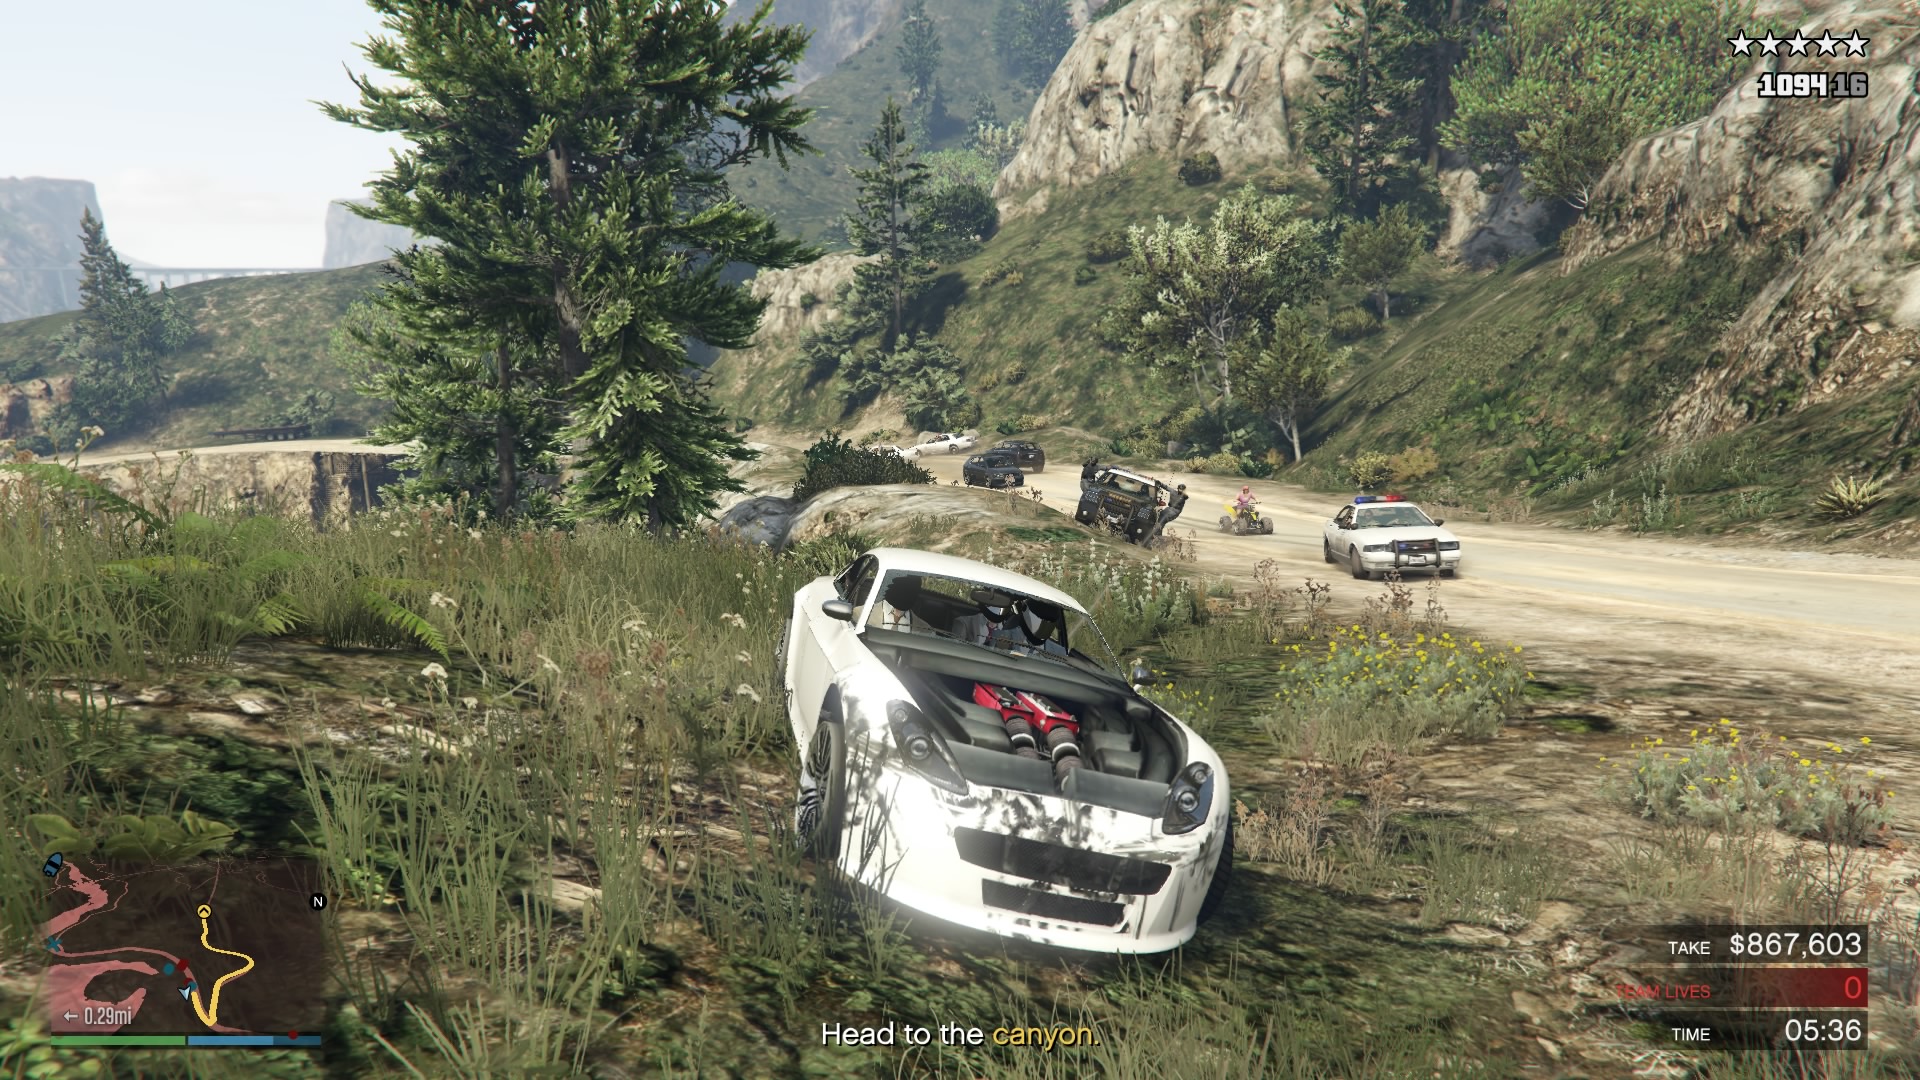
Now stop. There are several ways of doing this next section, in which you’ll need to drive for nearly three miles with a five-star wanted rating. First, you should see two shootable crates against the wall next to the bikes. They contain body armour, so kit-up if you need to. Second, you need to decide whether you’re going to do as you’re told and use the bikes to escape, or if you’re going to take a car. The bikes are fast, but you’re vulnerable to fire (of which there will be a lot) and a heavy crash will probably mean death. Taking a car means you’re all together, but whoever’s driving needs to be a ninja behind the wheel. If you’re going to take a car, one player needs to check on the street to see if one’s spawned nearby before everyone jumps on the bikes and starts the timer. If it has, you should probably take it.
Now head out to canyon. You’re going to be skirting endless roadblocks and heavy police vehicles. This is a tough section, so expect to die. A lot. You’ll find this easier if you have a fast car, but even then success isn’t guaranteed.
Keep going until you reach a point where you’re instructed to parachute off a cliff.
The boat you’re trying to reach is at the bottom. Again, there are several ways to get down here. You can actually drive off, assuming the driver knows what they’re doing. This has the advantage of keeping the team together.
If you decide to parachute down, go forwards and then swing round to the right and follow the river. You may not be able to get to the boat completely and have to swim the last few yards. Hurry. Remember you’re on the clock.
Now get into the dinghy and drive out to sea to the yellow marker. The timer will stop as soon as you get into the boat. And that’s it. You’ll see some cutscenes and get paid. You’ve completed GTA 5 Online heists!
Head back to our GTA 5 Online Heists guide.